Affine的私有化部署教程
摘要: Affine 是融合多应用功能的协作笔记应用。文章介绍通过1panel和Docker部署、反向代理及相关设置步骤,还讲了客户端连接私有化部署的操作。
介绍
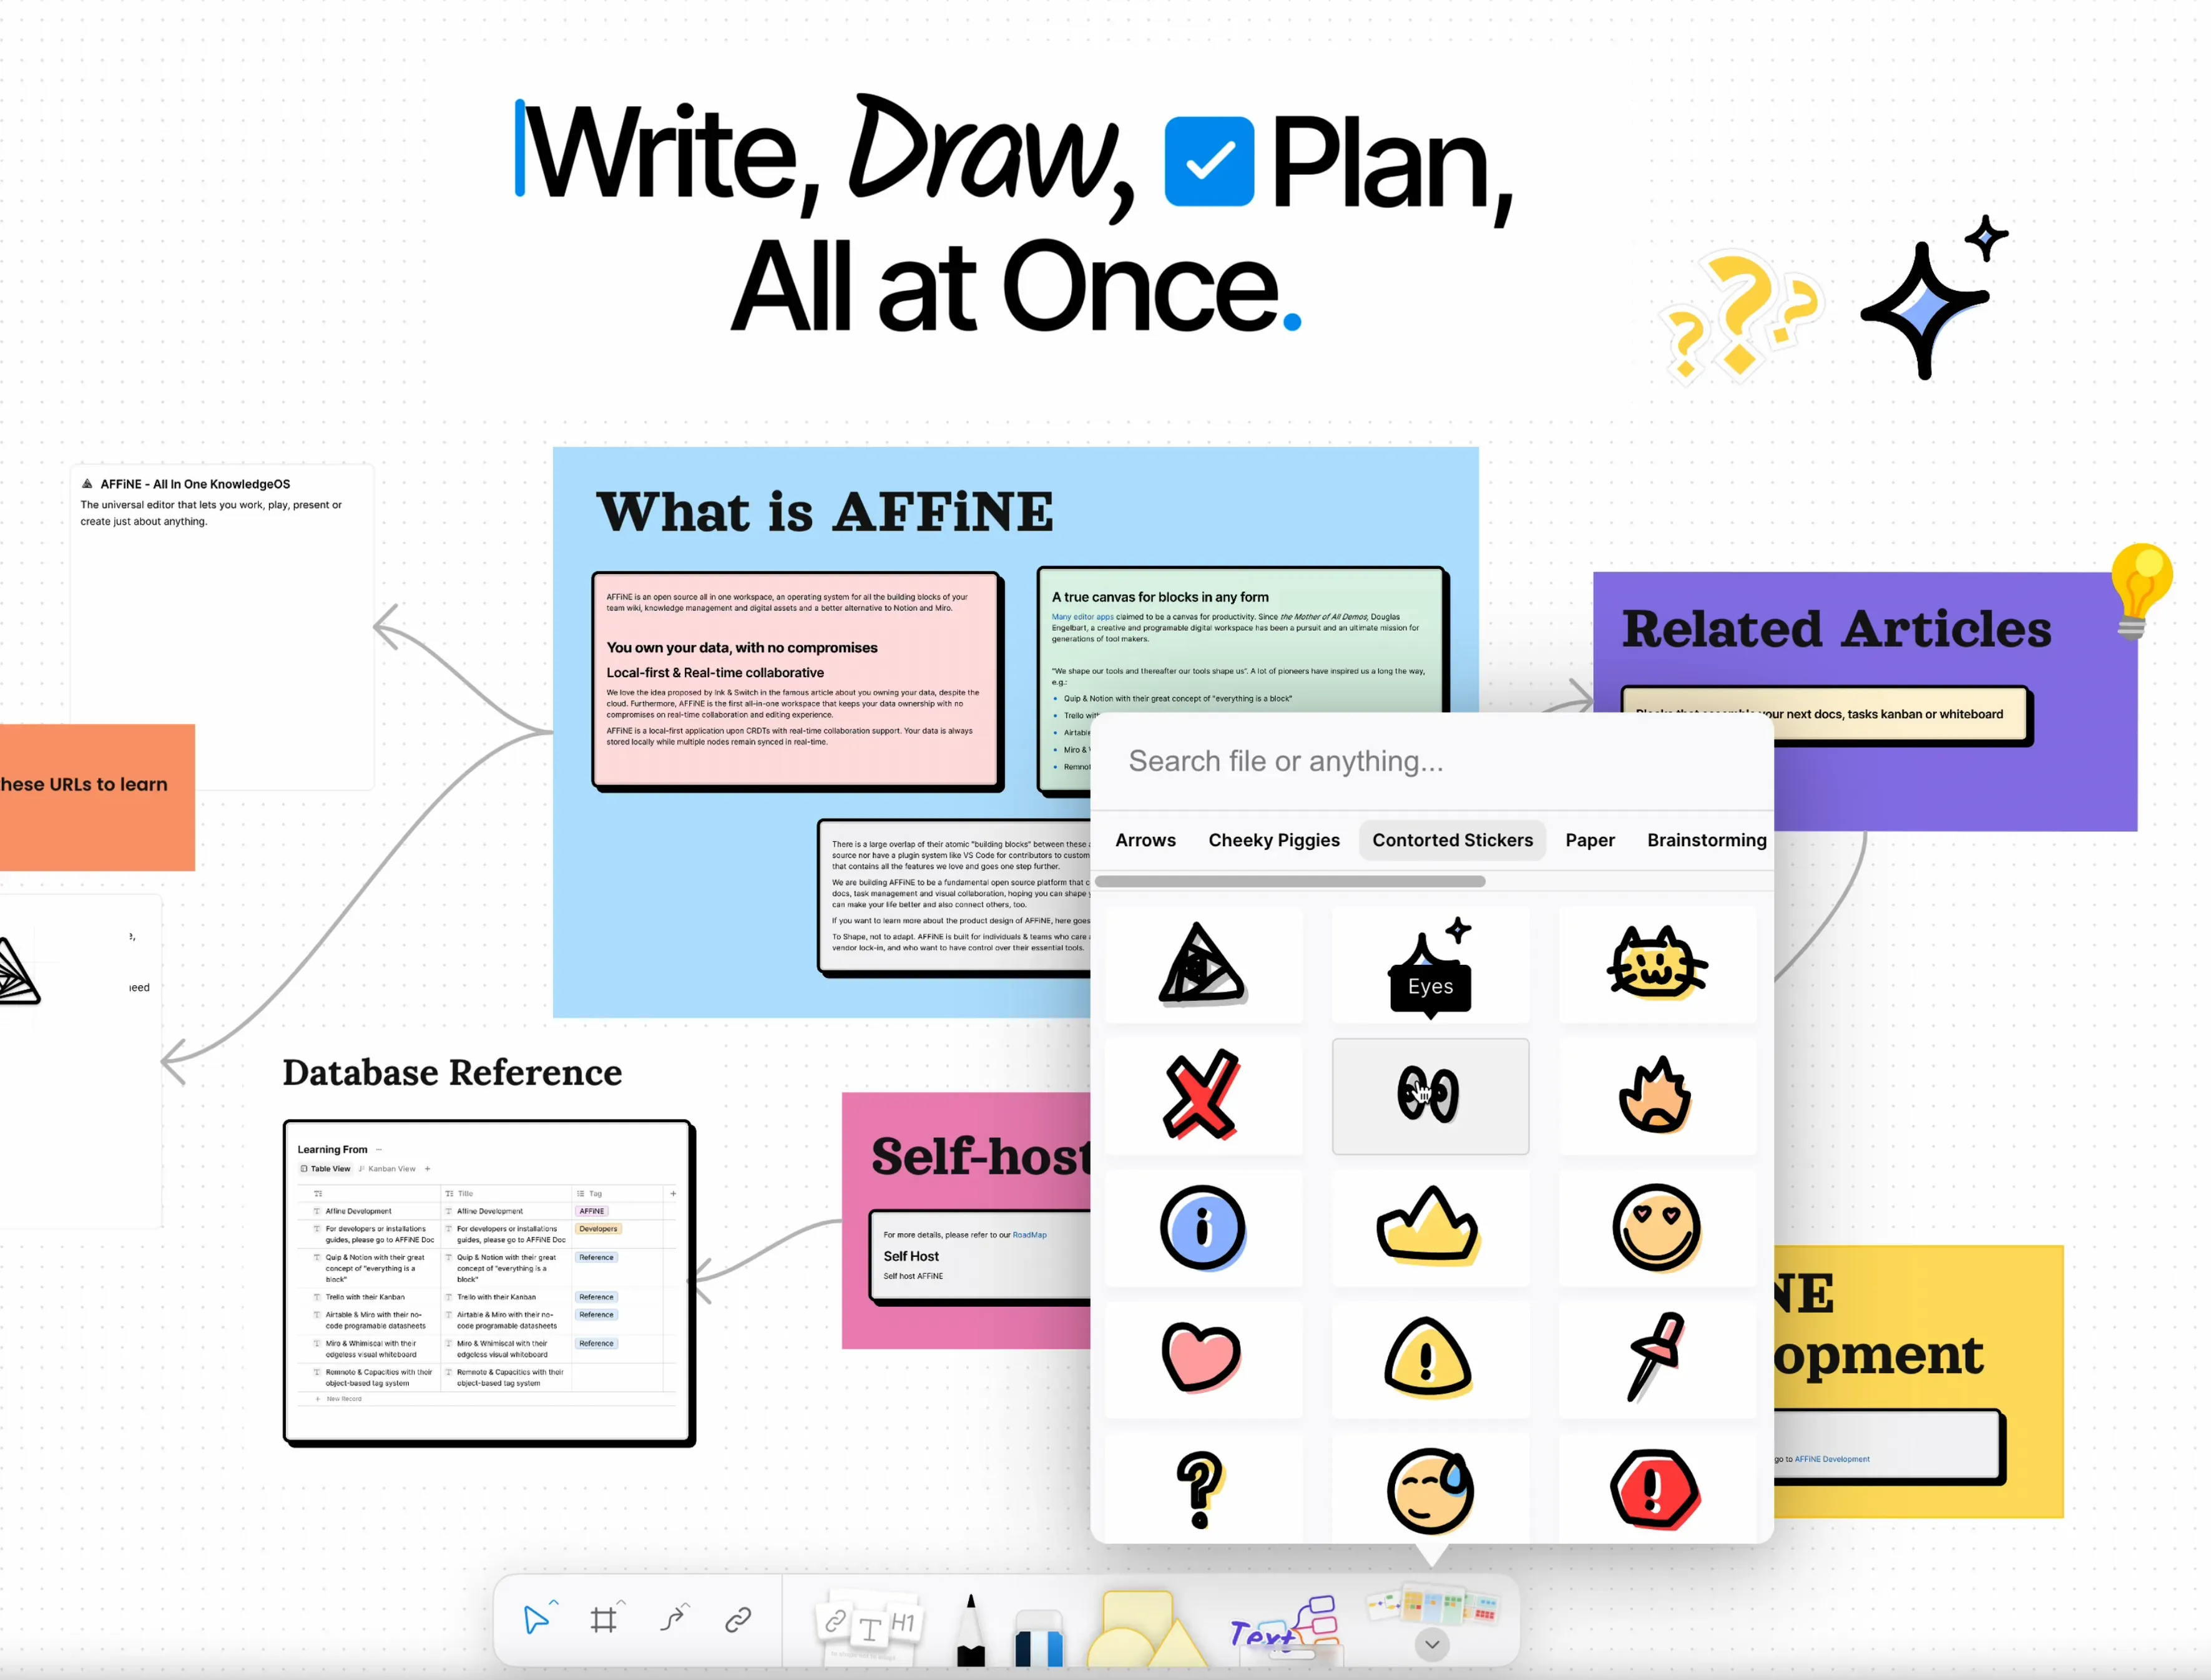
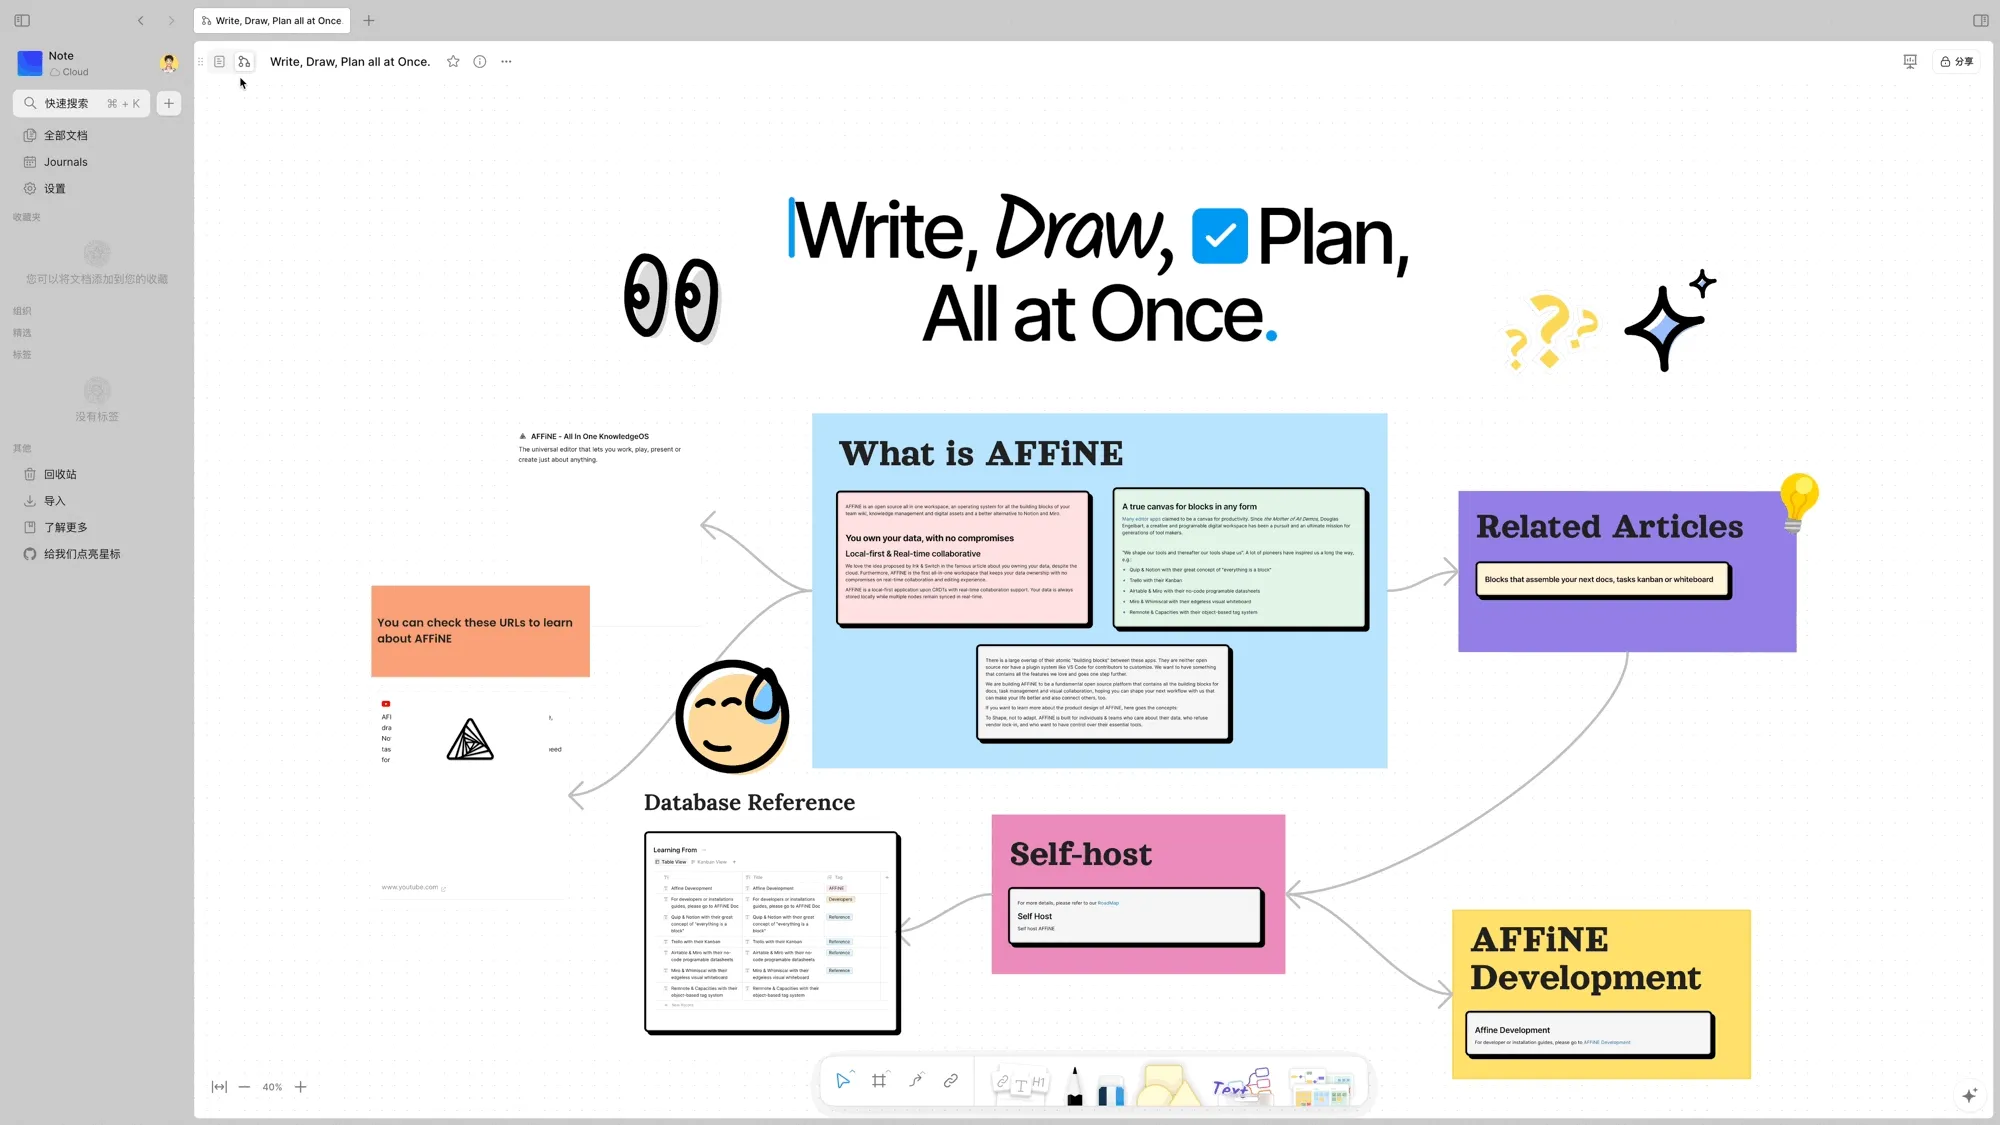
🚀Affine是一款融合了Notion和Miro最佳功能的协作笔记应用。它能让您的个人笔记与知识库、白板绘图、任务管理以及演示文稿无缝整合,全部在一个应用中完成!
开始部署
本文将通过1panel部署,宝塔面板或其他方式同理。
首先新建 .env和 docker compose.yml文件
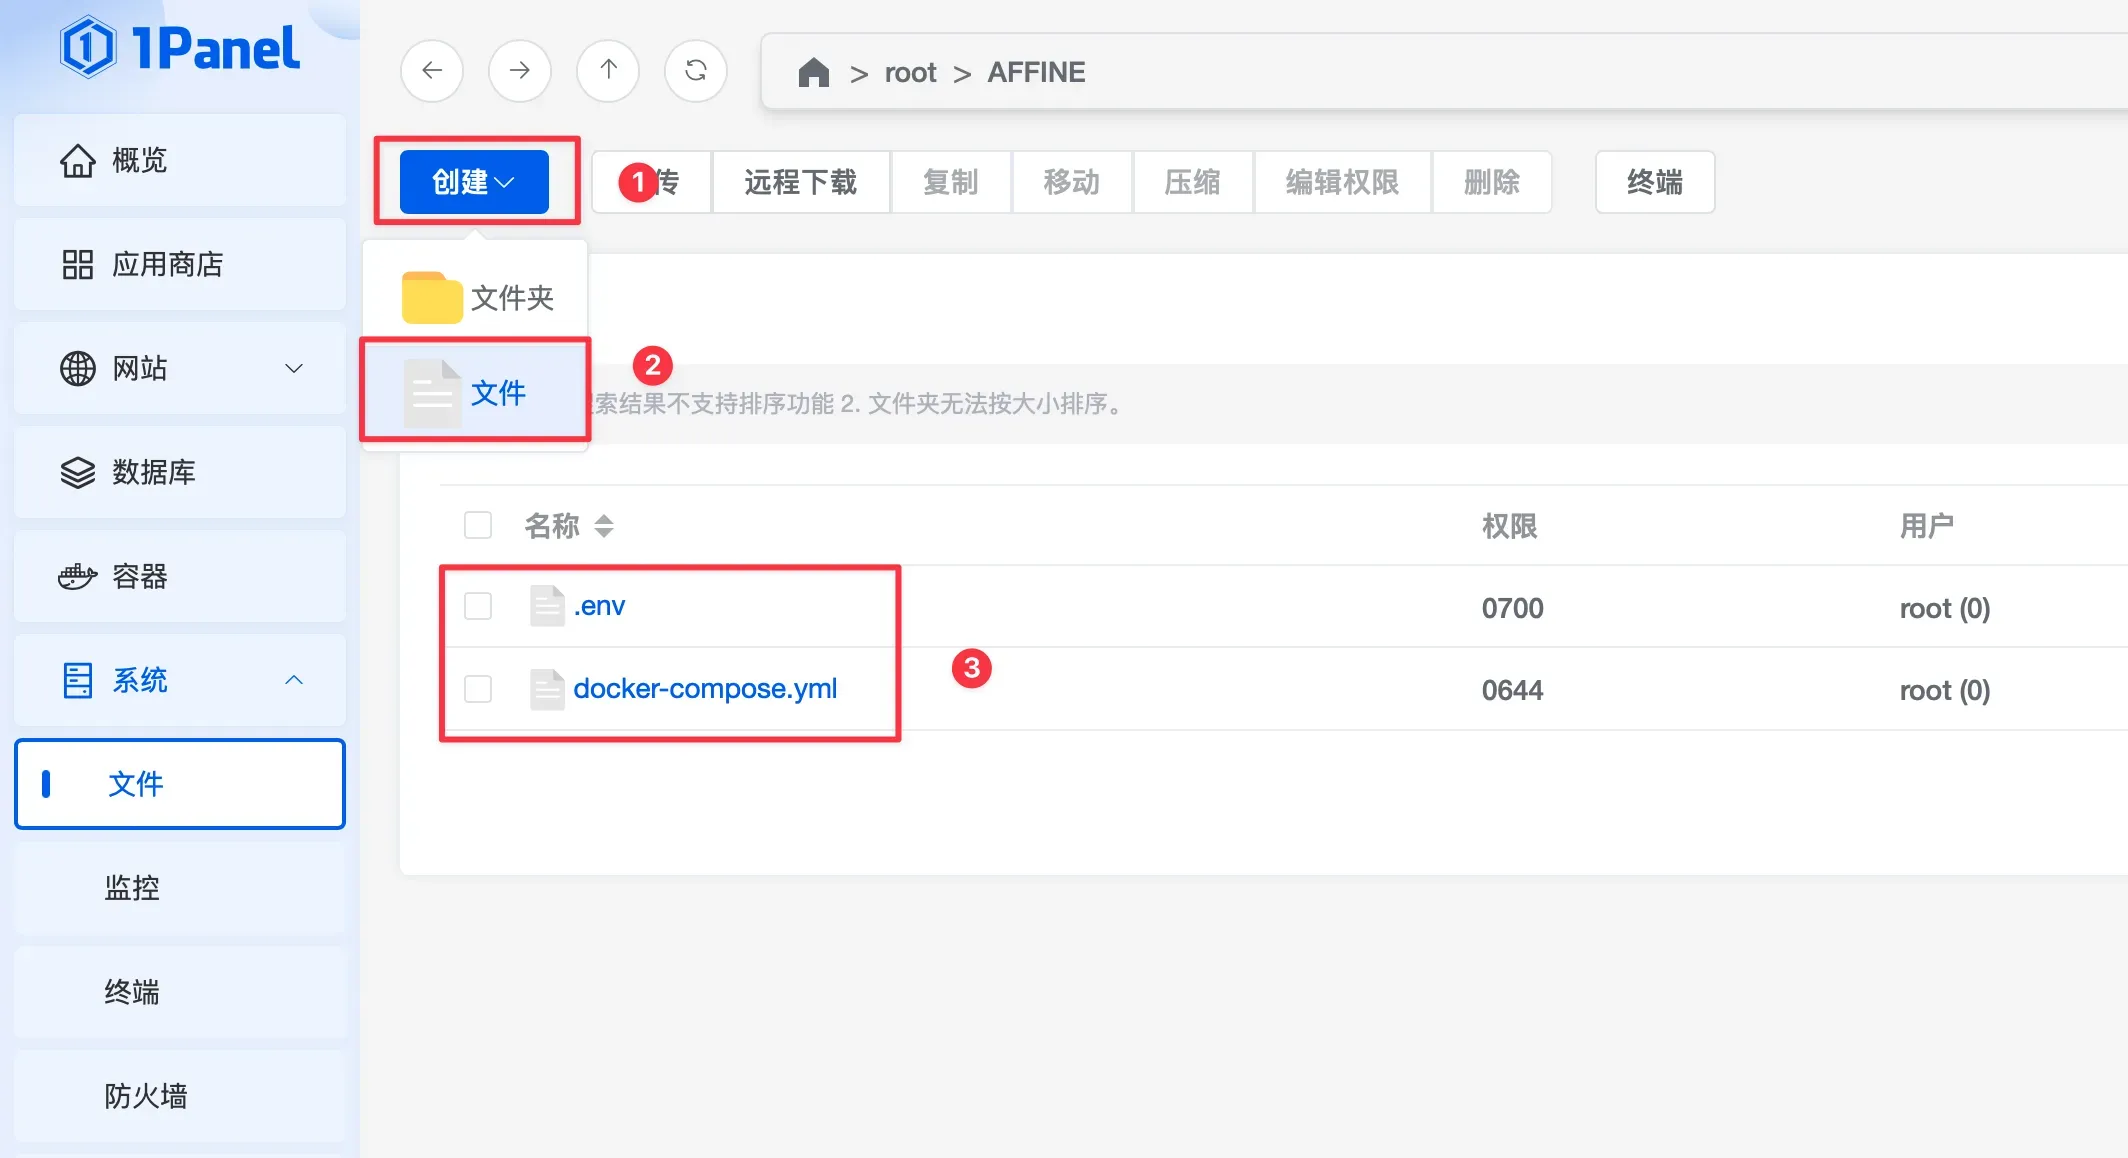 然后输入以下内容
docker-compose.yml
name: affine
services:
  affine:
    image: ghcr.io/toeverything/affine-graphql:${AFFINE_REVISION:-stable}
    container_name: affine_server
    ports:
      - '${PORT:-3010}:3010'
    depends_on:
      redis:
        condition: service_healthy
      postgres:
        condition: service_healthy
      affine_migration:
        condition: service_completed_successfully
    volumes:
      # custom configurations
      - ${UPLOAD_LOCATION}:/root/.affine/storage
      - ${CONFIG_LOCATION}:/root/.affine/config
    env_file:
      - .env
    environment:
      - REDIS_SERVER_HOST=redis
      - DATABASE_URL=postgresql://${DB_USERNAME}:${DB_PASSWORD}@postgres:5432/${DB_DATABASE:-affine}
    restart: unless-stopped

  affine_migration:
    image: ghcr.io/toeverything/affine-graphql:${AFFINE_REVISION:-stable}
    container_name: affine_migration_job
    volumes:
      # custom configurations
      - ${UPLOAD_LOCATION}:/root/.affine/storage
      - ${CONFIG_LOCATION}:/root/.affine/config
    command: ['sh', '-c', 'node ./scripts/self-host-predeploy.js']
    env_file:
      - .env
    environment:
      - REDIS_SERVER_HOST=redis
      - DATABASE_URL=postgresql://${DB_USERNAME}:${DB_PASSWORD}@postgres:5432/${DB_DATABASE:-affine}
    depends_on:
      postgres:
        condition: service_healthy
      redis:
        condition: service_healthy

  redis:
    image: redis
    container_name: redis
    healthcheck:
      test: ['CMD', 'redis-cli', '--raw', 'incr', 'ping']
      interval: 10s
      timeout: 5s
      retries: 5
    restart: unless-stopped

  postgres:
    image: postgres:16
    container_name: postgres
    volumes:
      - ${DB_DATA_LOCATION}:/var/lib/postgresql/data
    environment:
      POSTGRES_USER: ${DB_USERNAME}
      POSTGRES_PASSWORD: ${DB_PASSWORD}
      POSTGRES_DB: ${DB_DATABASE:-affine}
      POSTGRES_INITDB_ARGS: '--data-checksums'
      # you better set a password for you database
      # or you may add 'POSTGRES_HOST_AUTH_METHOD=trust' to ignore postgres security policy
      POSTGRES_HOST_AUTH_METHOD: trust
    healthcheck:
      test:
        ['CMD', 'pg_isready', '-U', "${DB_USERNAME}", '-d', "${DB_DATABASE:-affine}"]
      interval: 10s
      timeout: 5s
      retries: 5
    restart: unless-stopped
不用改东西,直接复制粘贴即可
.env
# select a revision to deploy, available values: stable, beta, canary
AFFINE_REVISION=stable

# set the port for the server container it will expose the server on
PORT=3010

# set the host for the server for outgoing links
AFFINE_SERVER_HTTPS=true
AFFINE_SERVER_HOST=affine.example.com #改成自己的域名
# or
# AFFINE_SERVER_EXTERNAL_URL=https://affine.yourdomain.com

# position of the database data to persist
DB_DATA_LOCATION=./pgdata
# position of the upload data(images, files, etc.) to persist
UPLOAD_LOCATION=./storage
# position of the configuration files to persist
CONFIG_LOCATION=./config

# database credentials
DB_USERNAME=dfkoLXckgpu4lccs
DB_PASSWORD=KLDSJFKoi4kdck2oi
DB_DATABASE=CKkgjfpeikccxa234
将 affine.example.com 改成自己的域名,本文假设你的域名是:affine.example.com
更改 DB_USERNAME 数据库的用户名
更改 DB_PASSWORD 数据库的密码
更改 DB_DATABASE 数据库名称
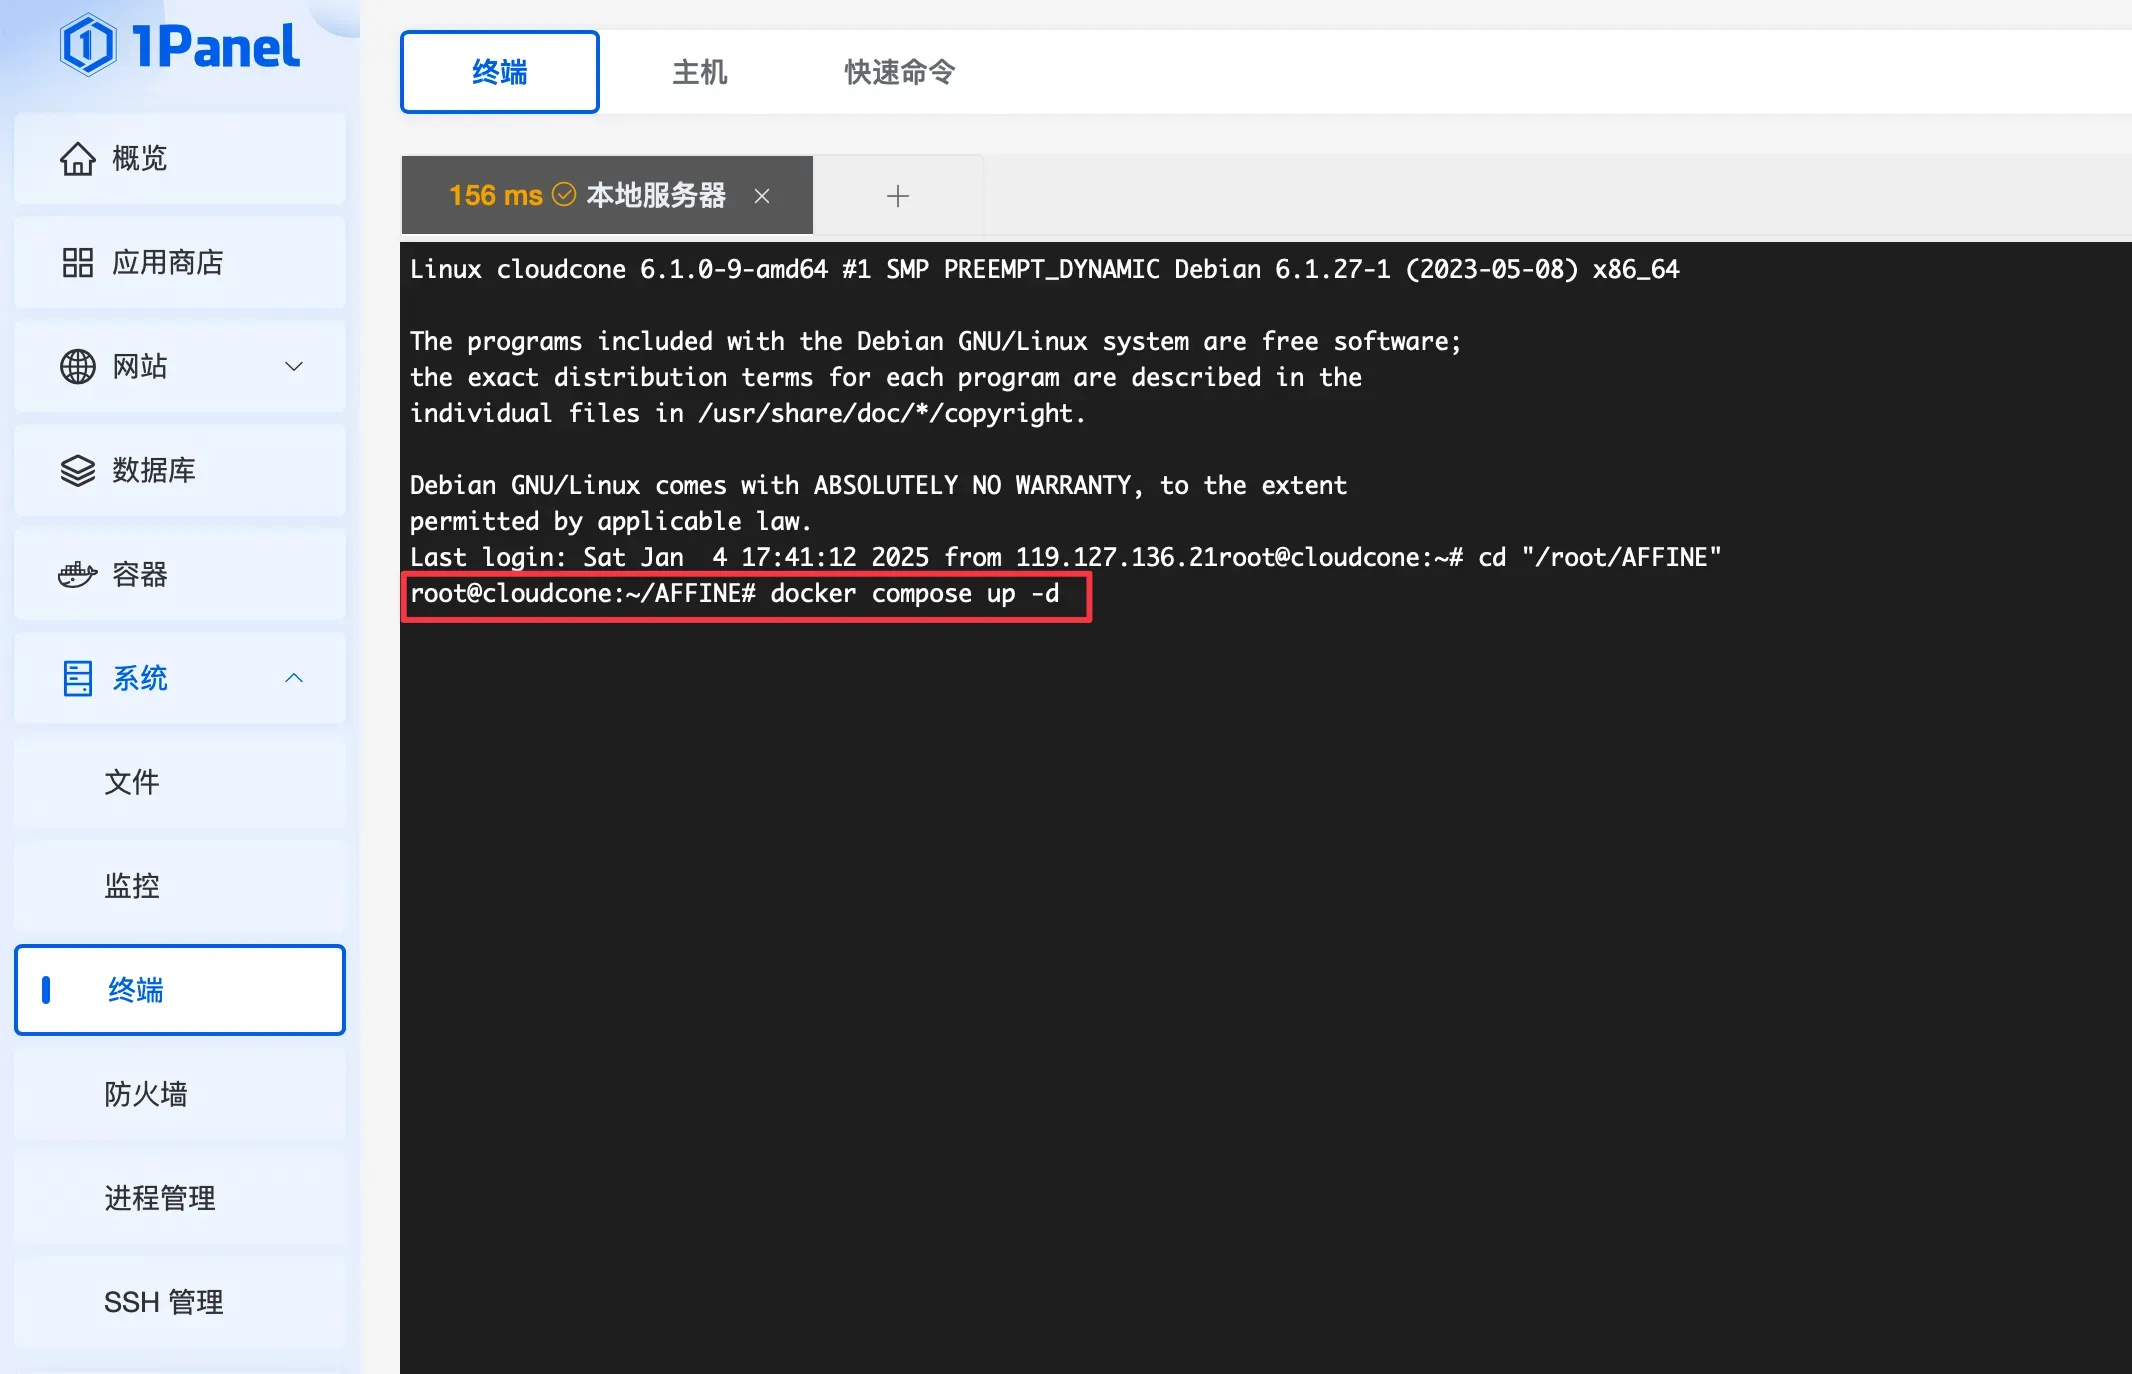
然后进入affine的文件目录
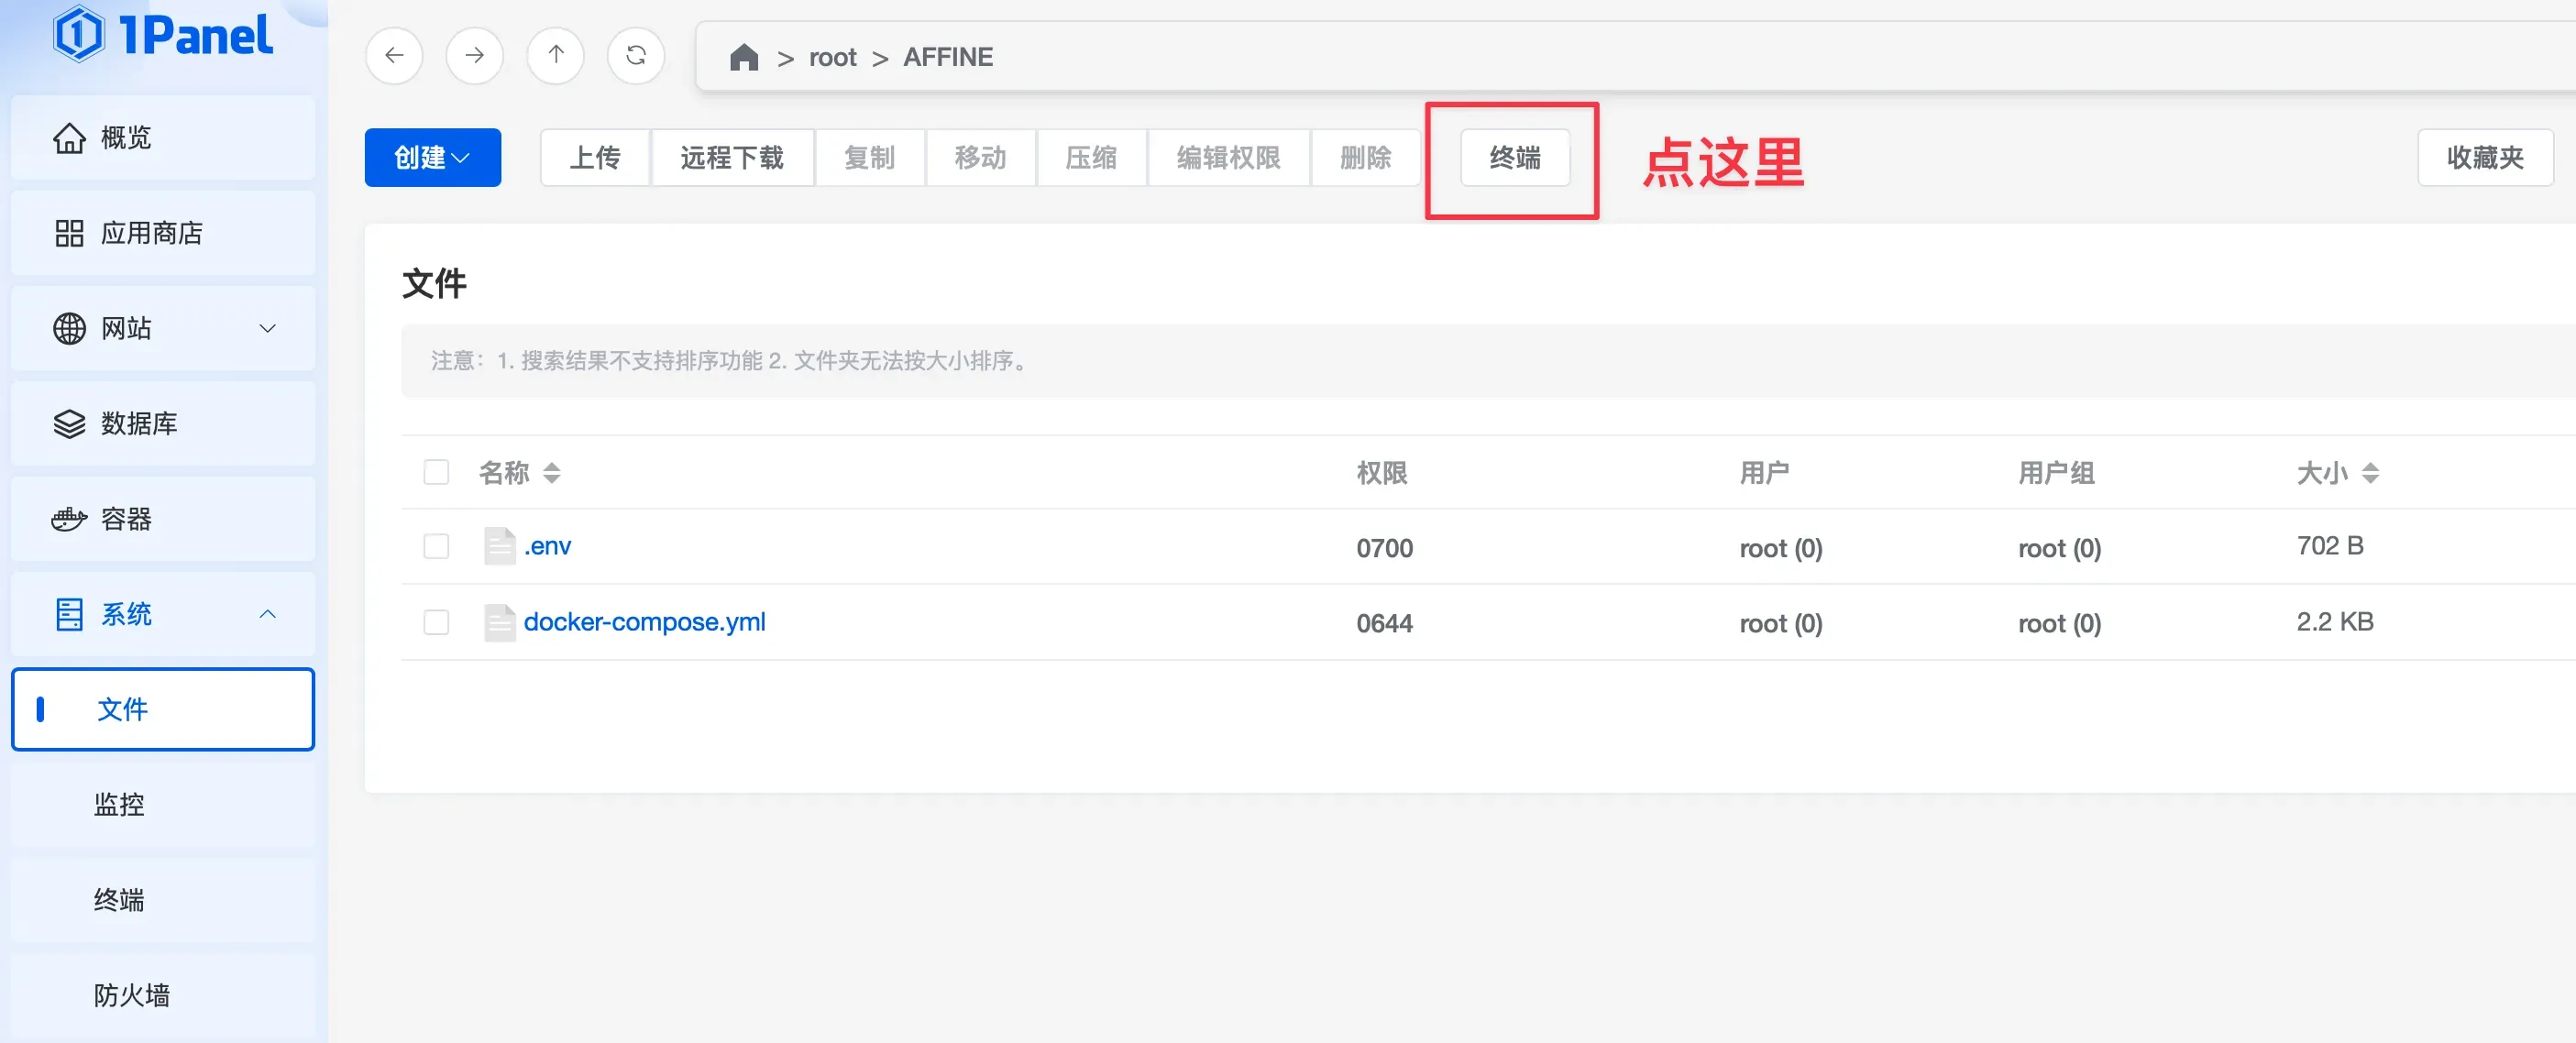
输入 docker compose up -d 开始部署Affine
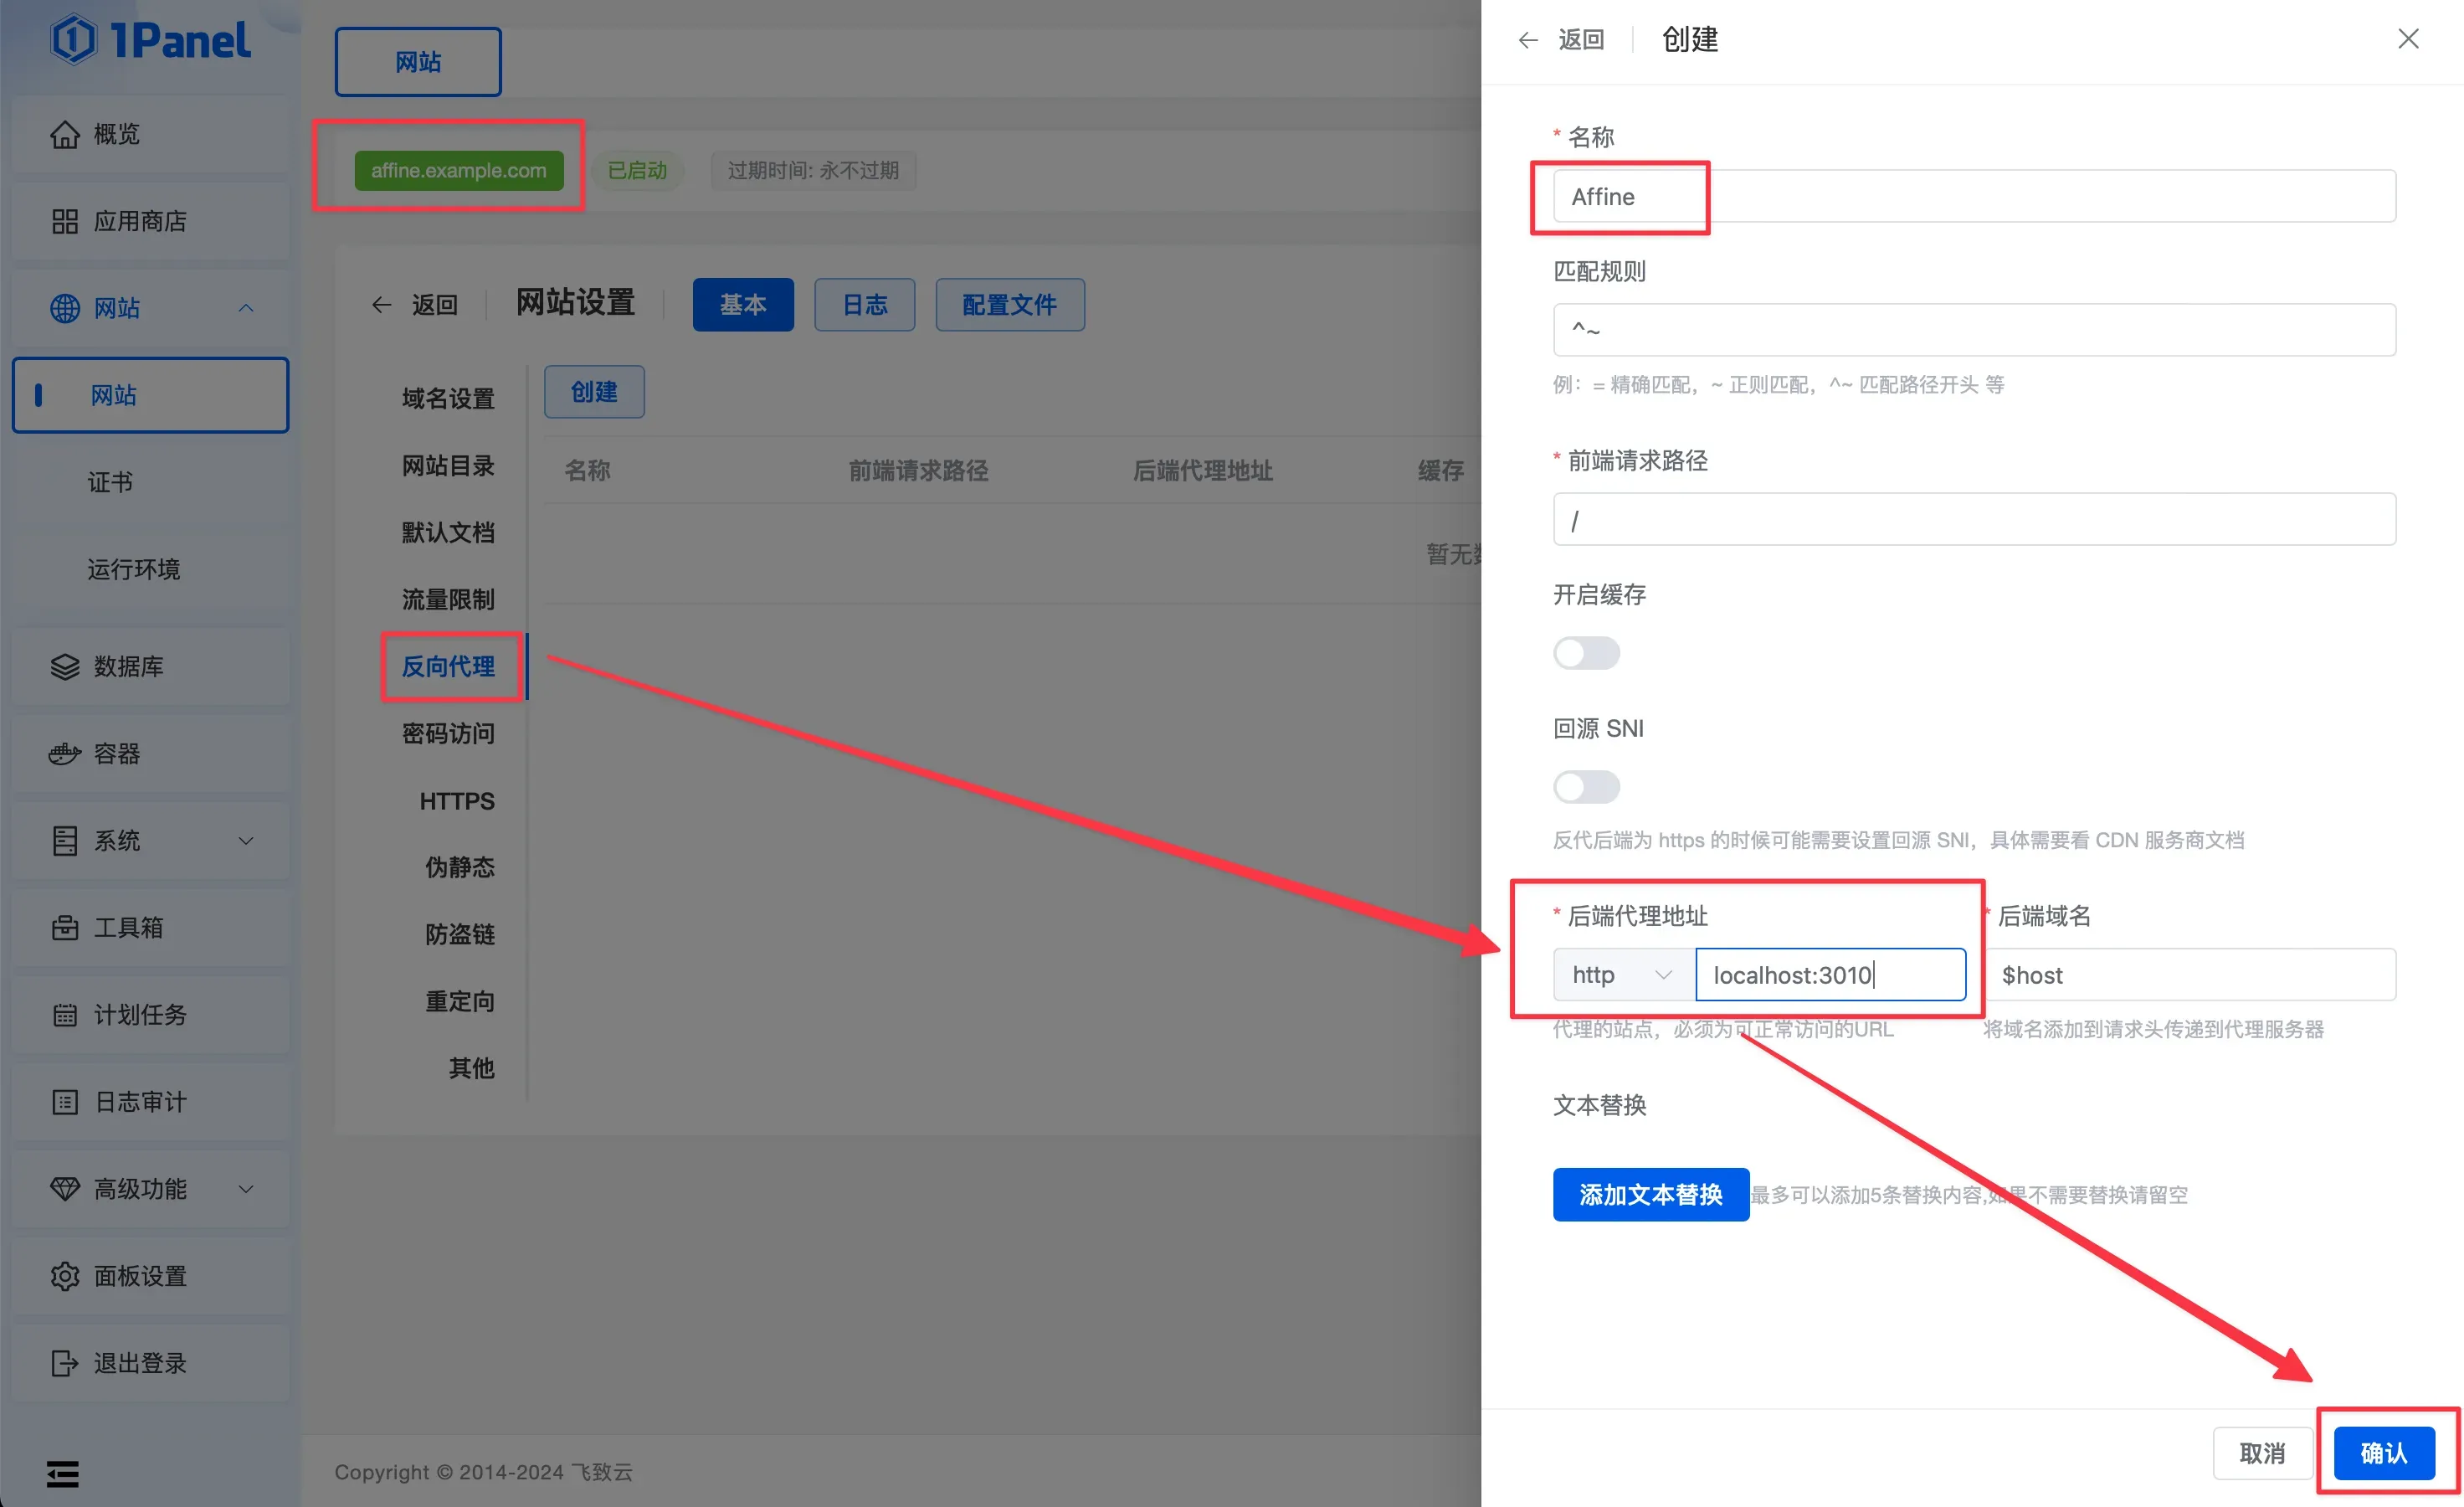
反向代理
按照上面部署的.env文件内容,我们需要使用反向代理,将Affine的访问改成域名访问。
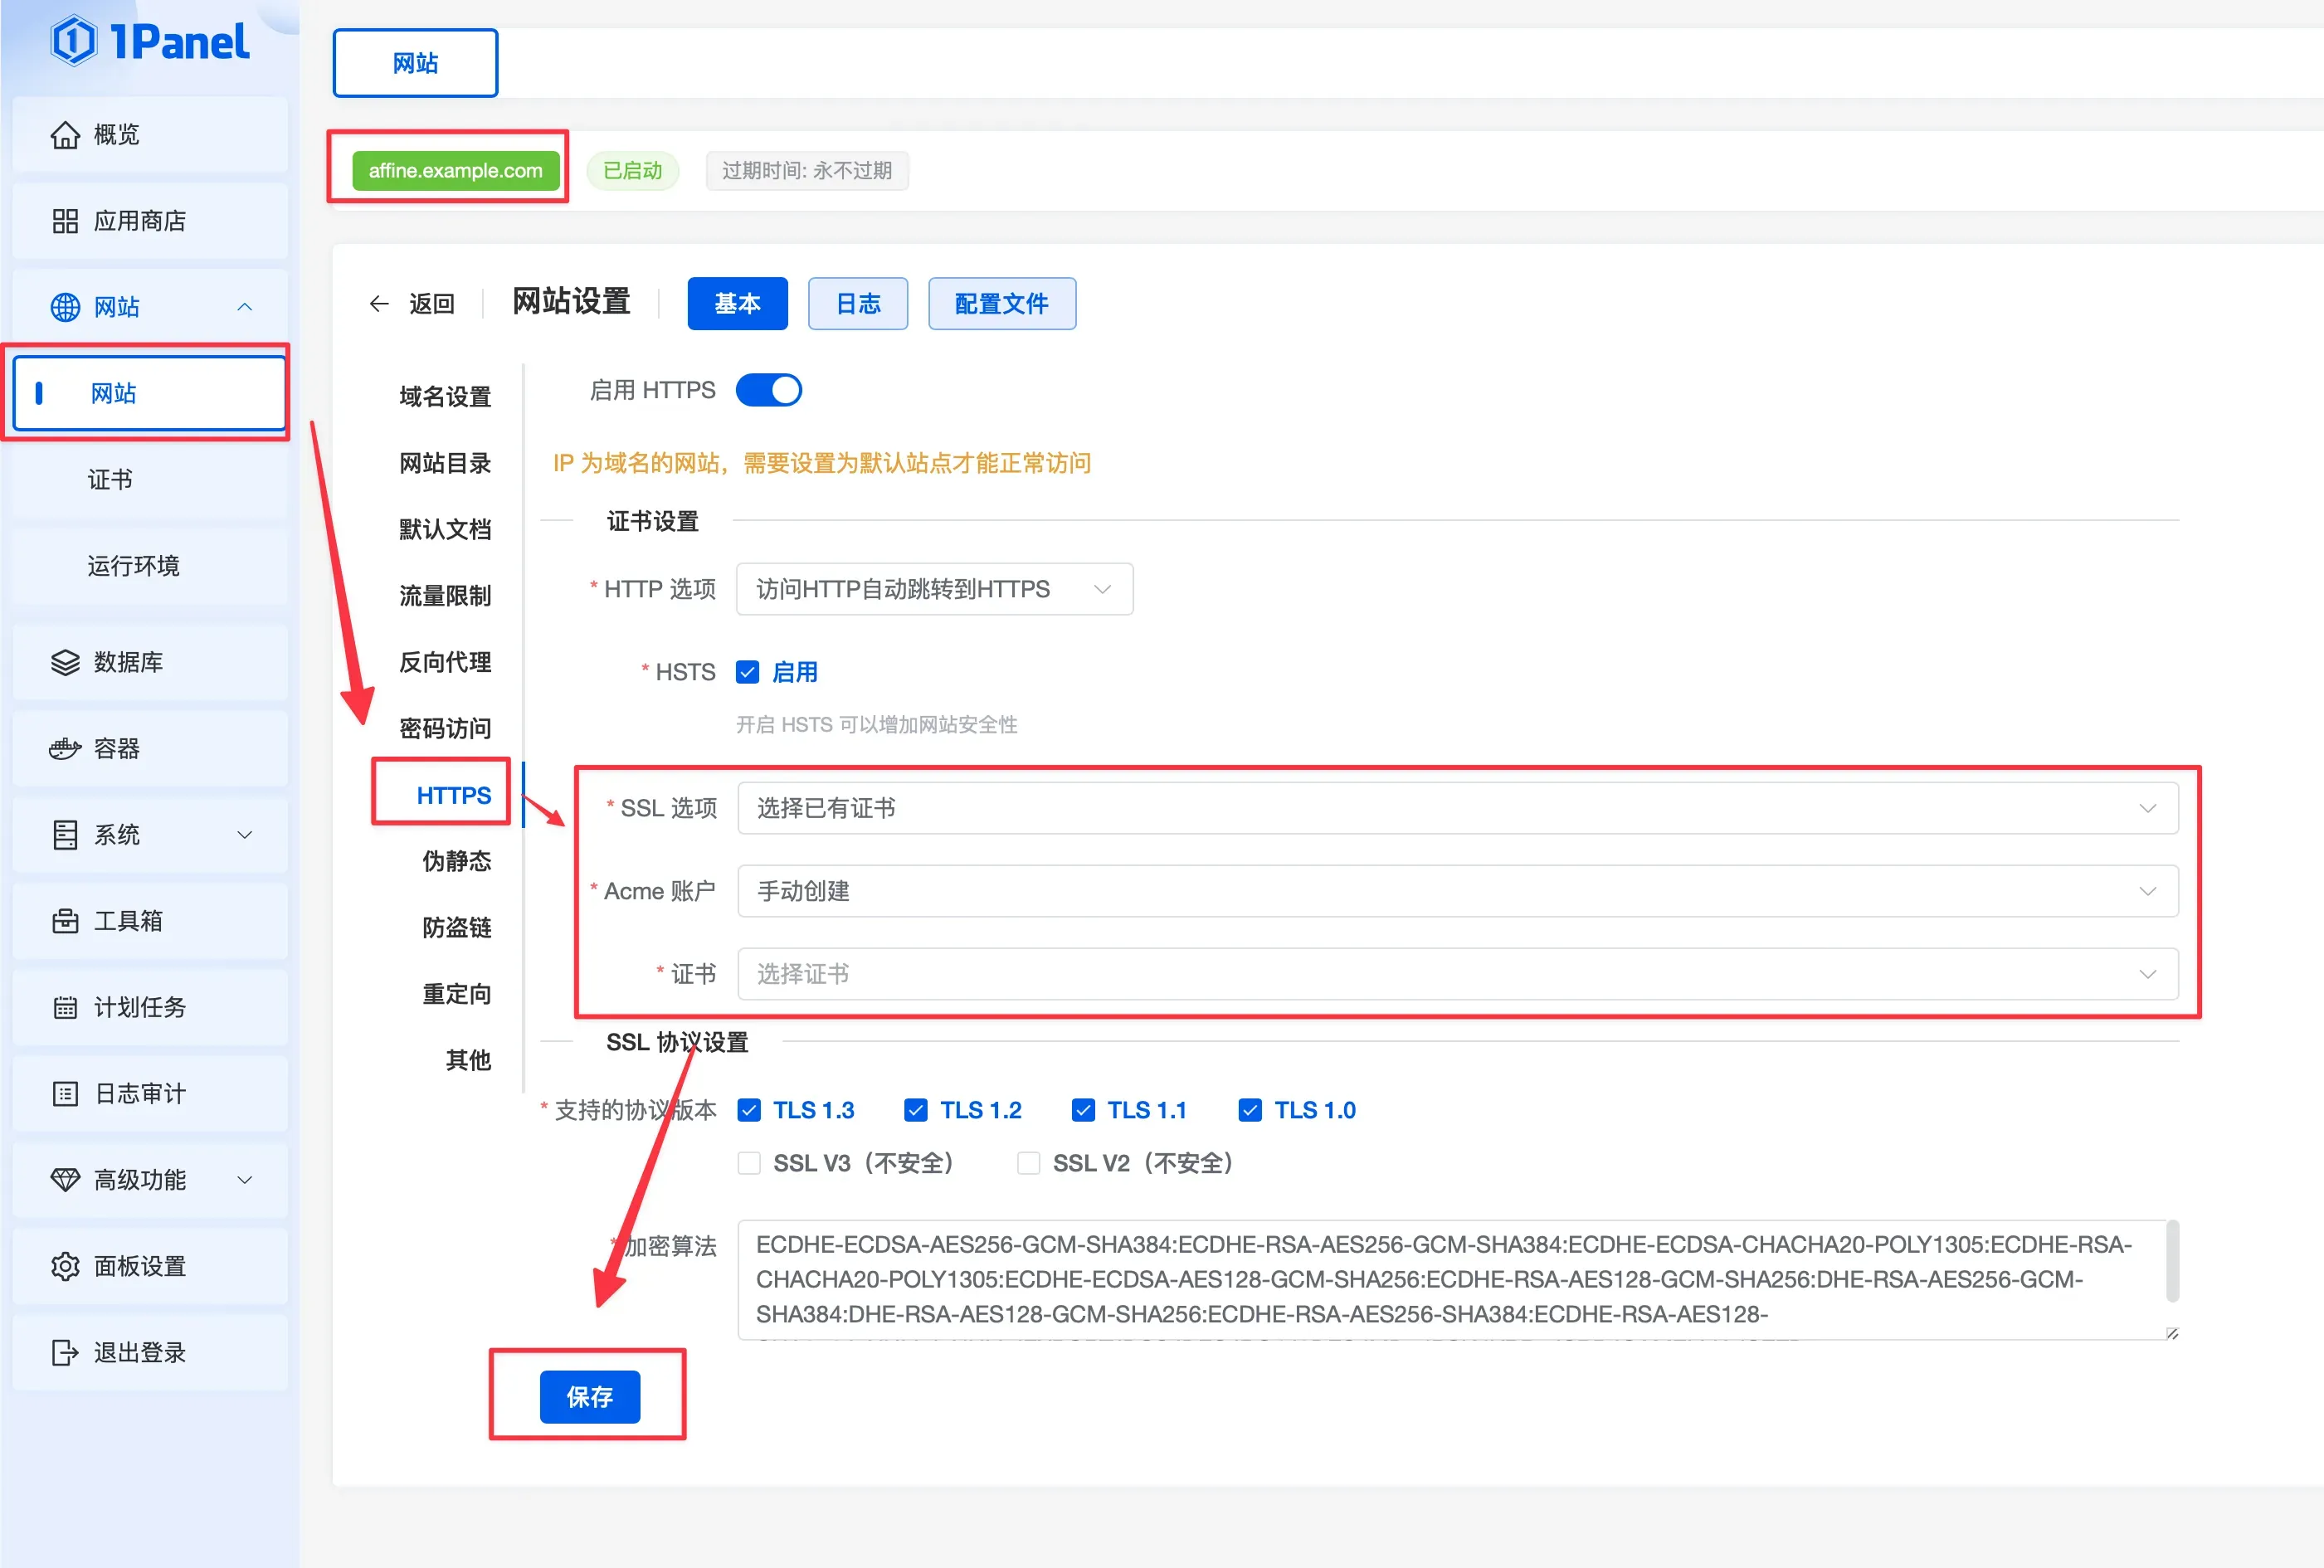
本文假设你的域名是affine.example.com
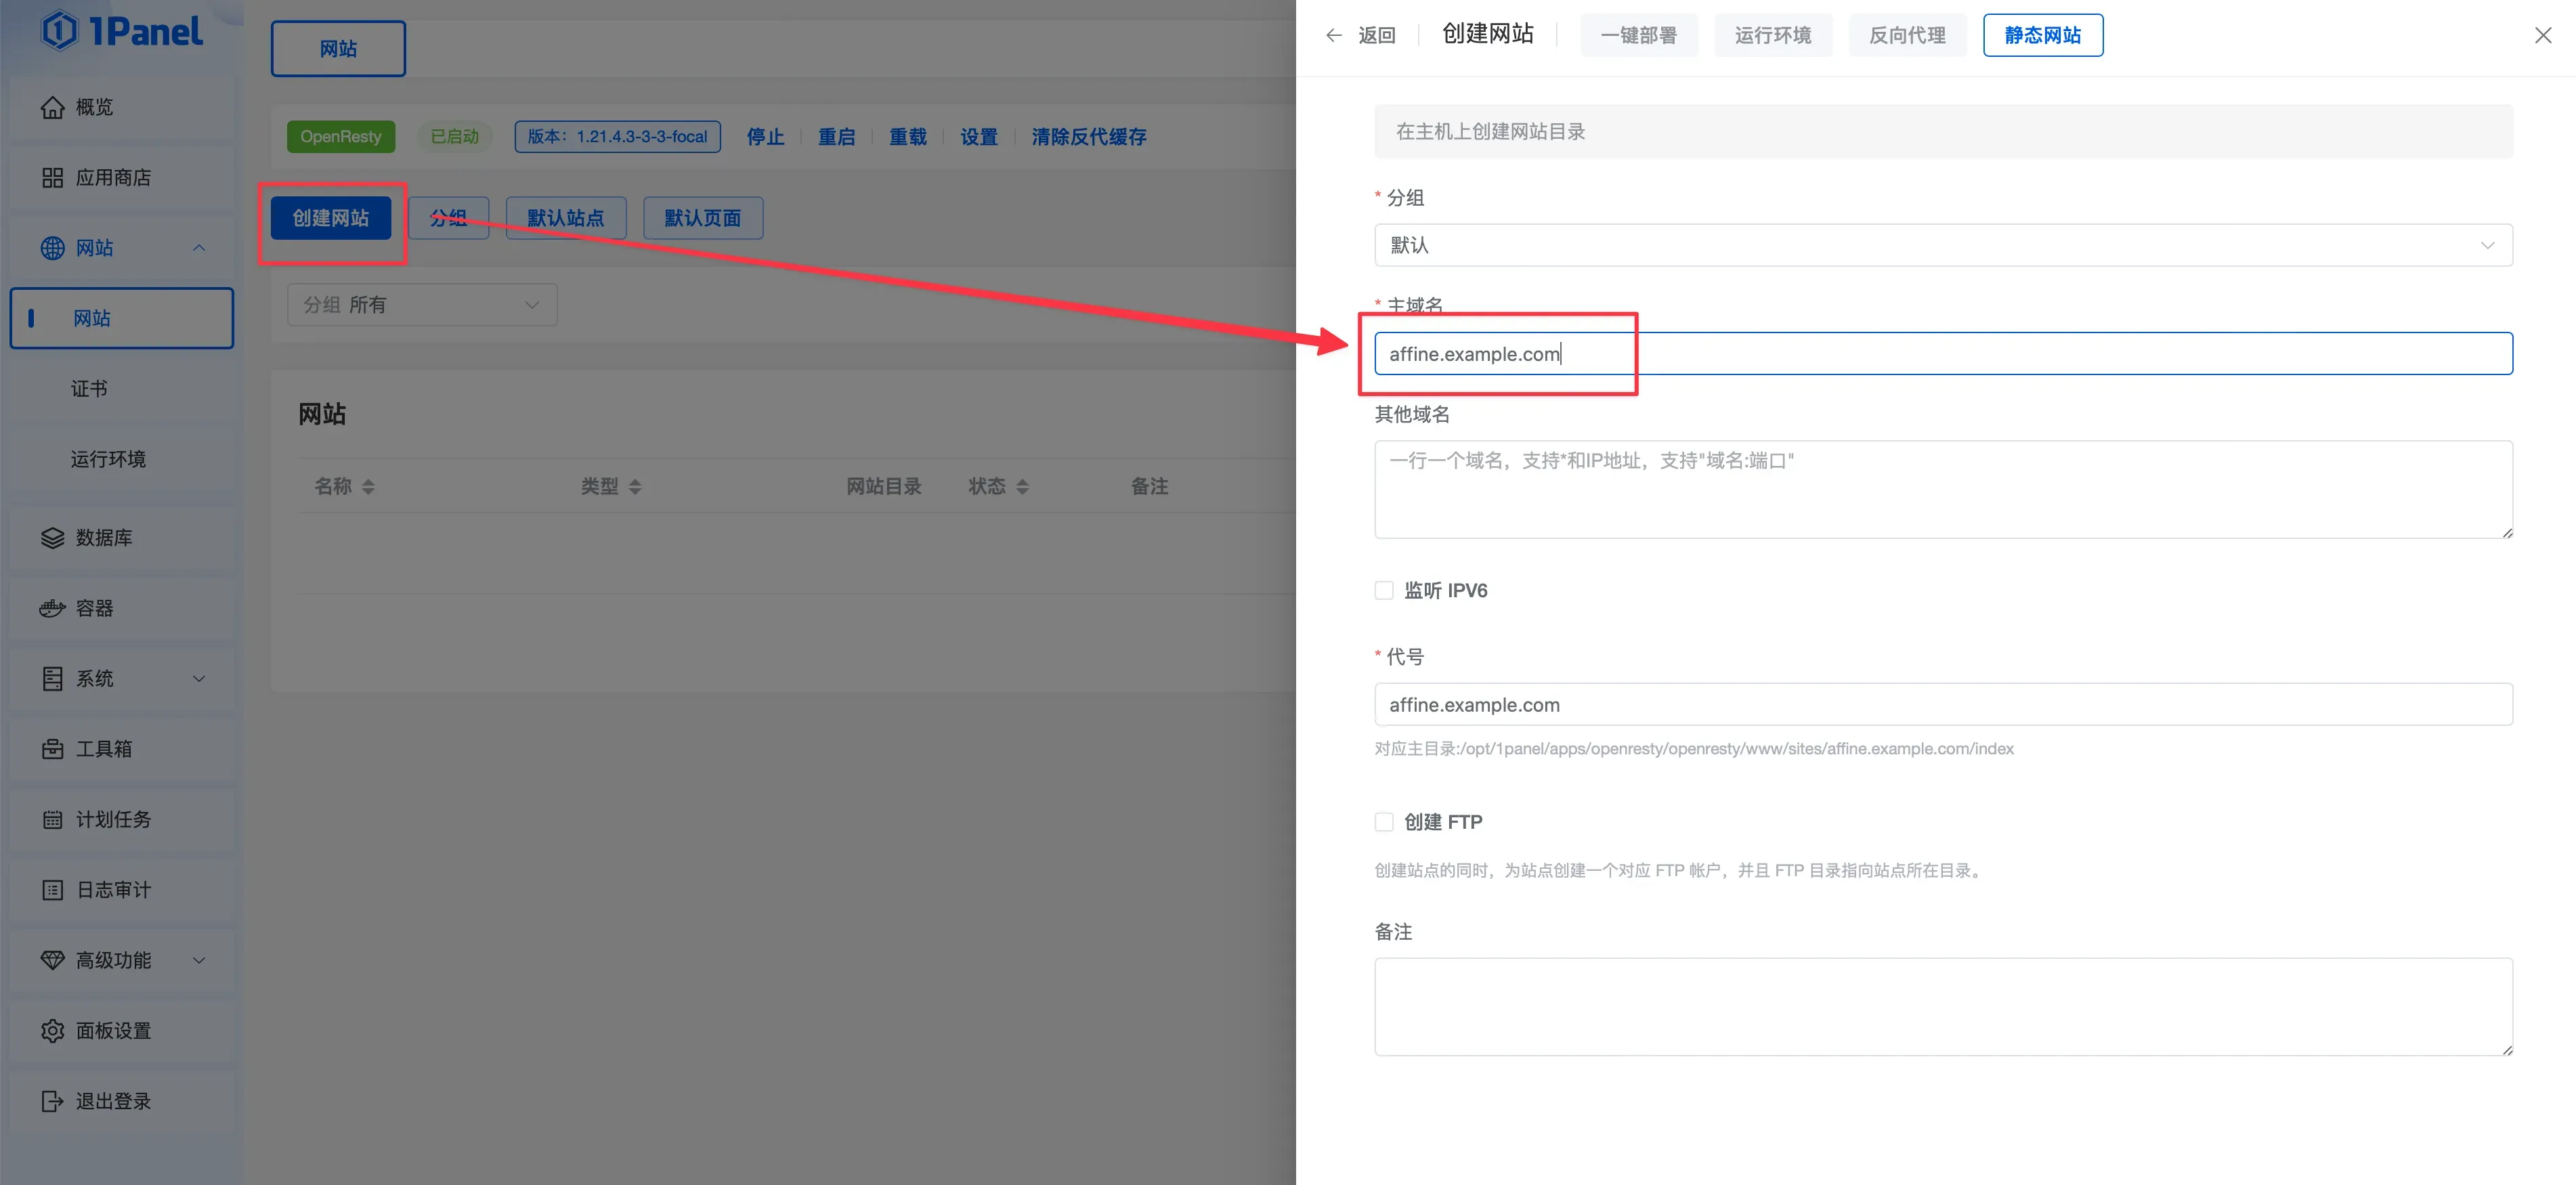
反向代理localhost:3010
申请SSL证书
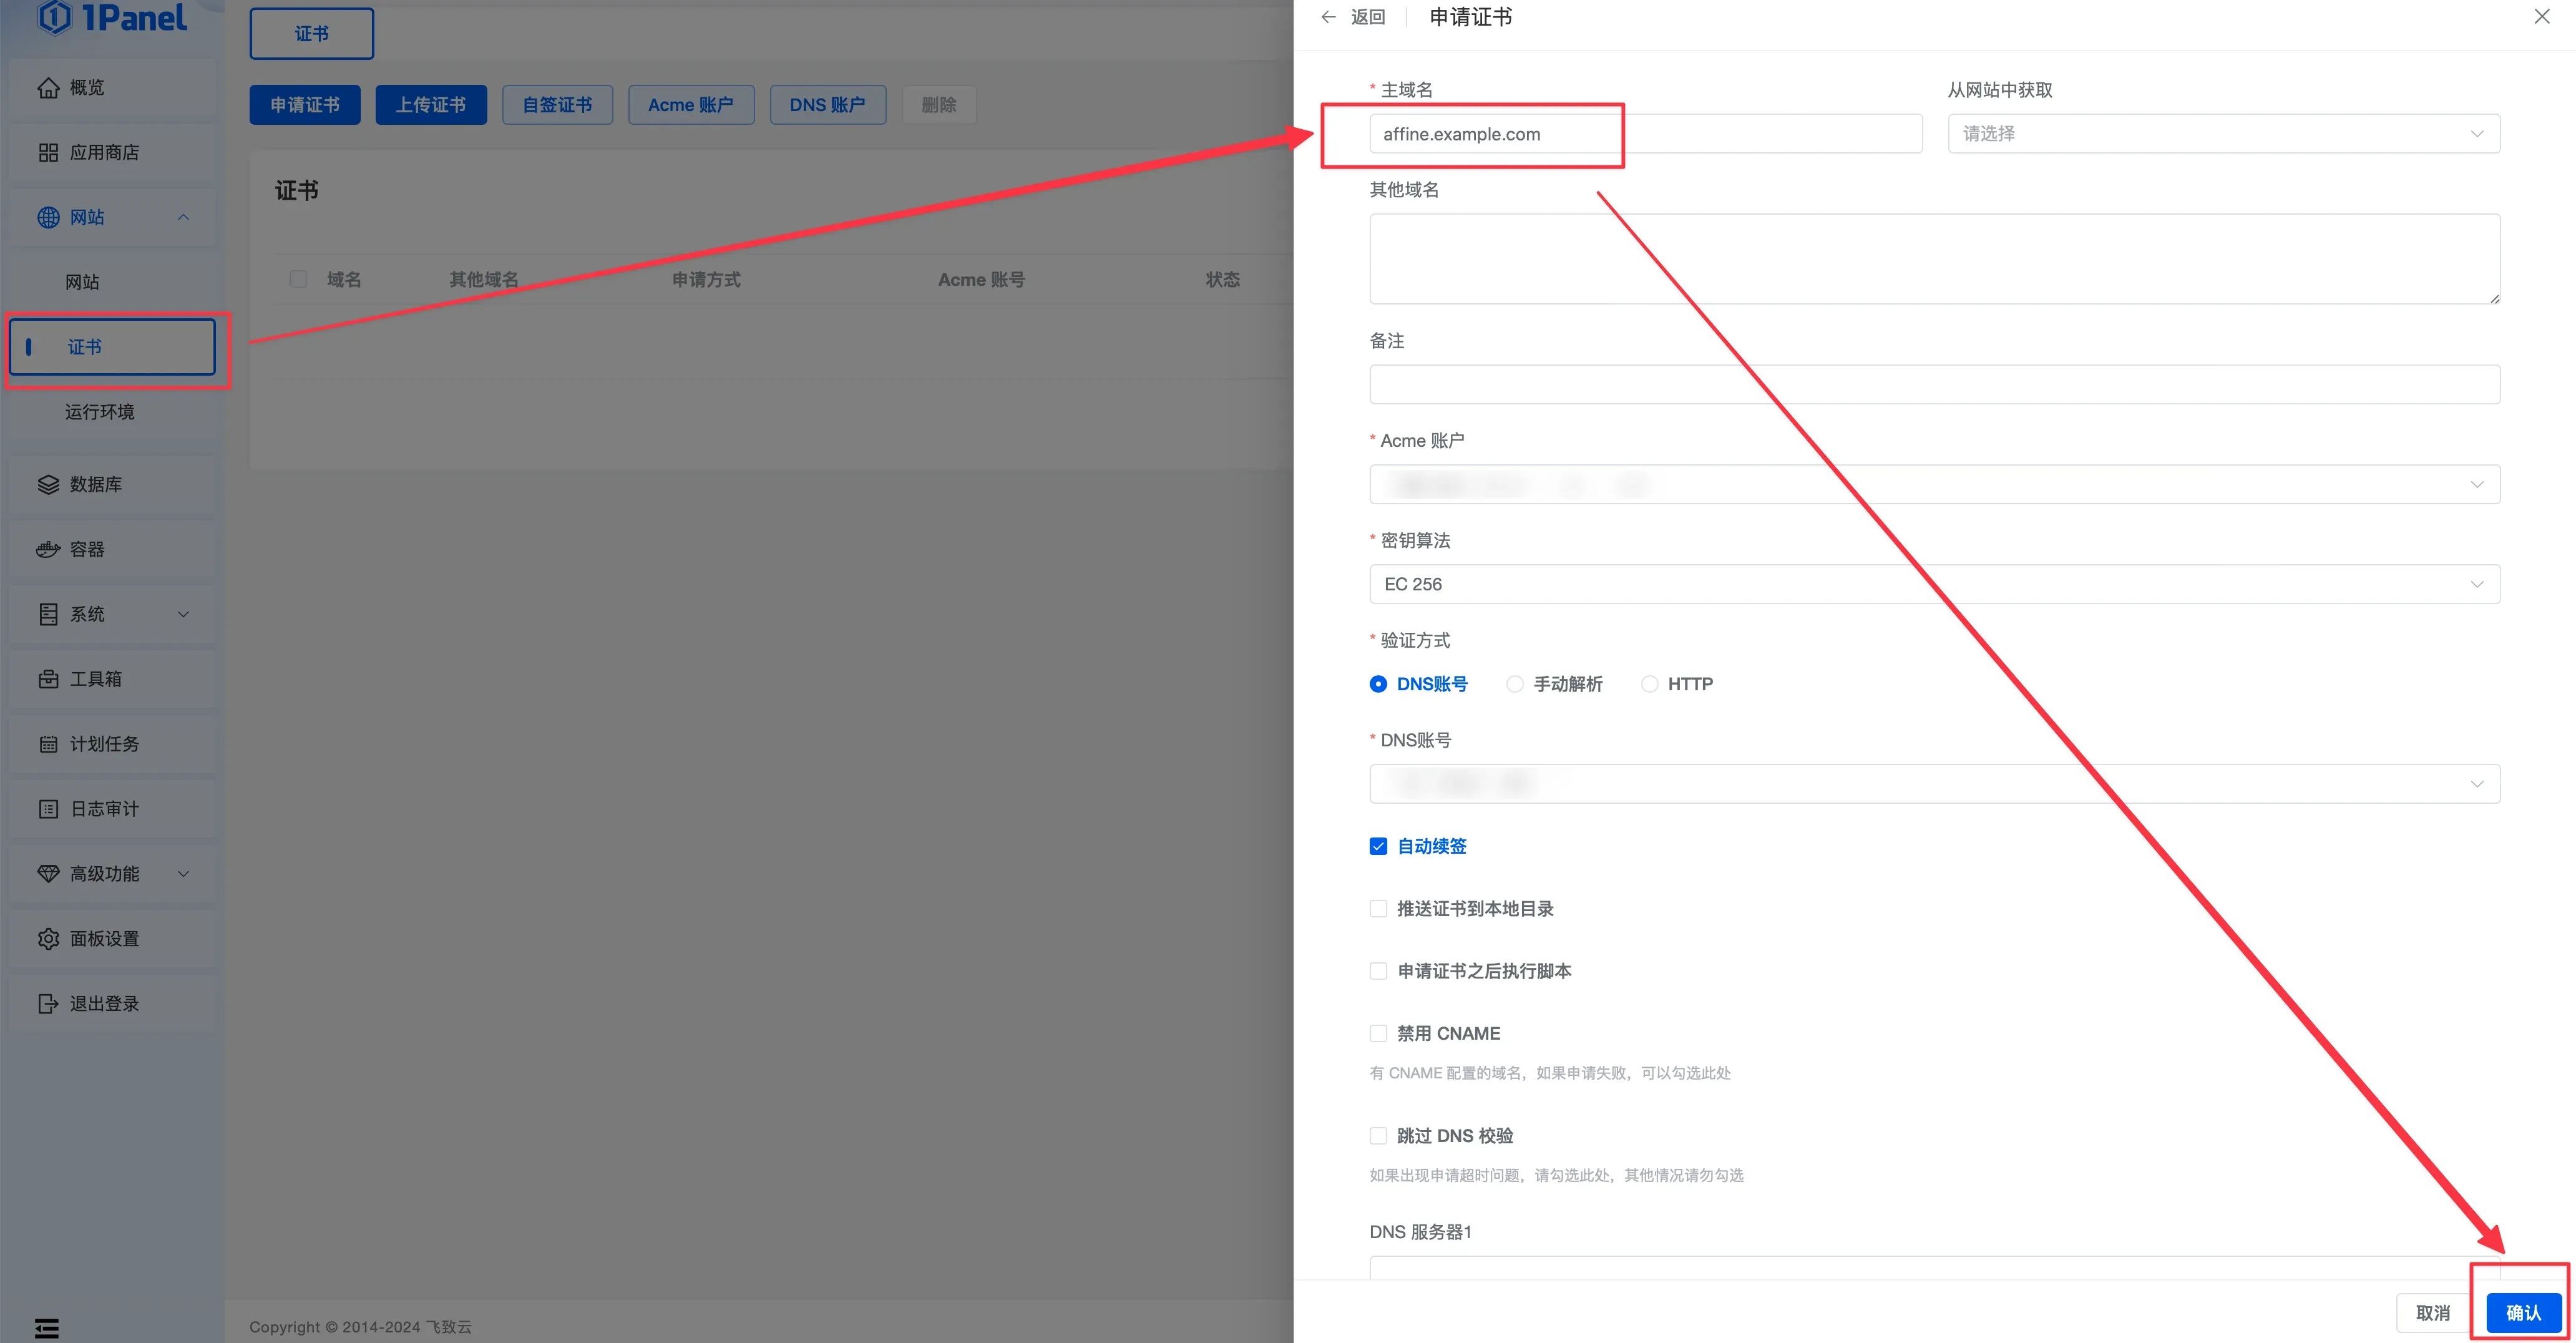
使用 SSL 证书
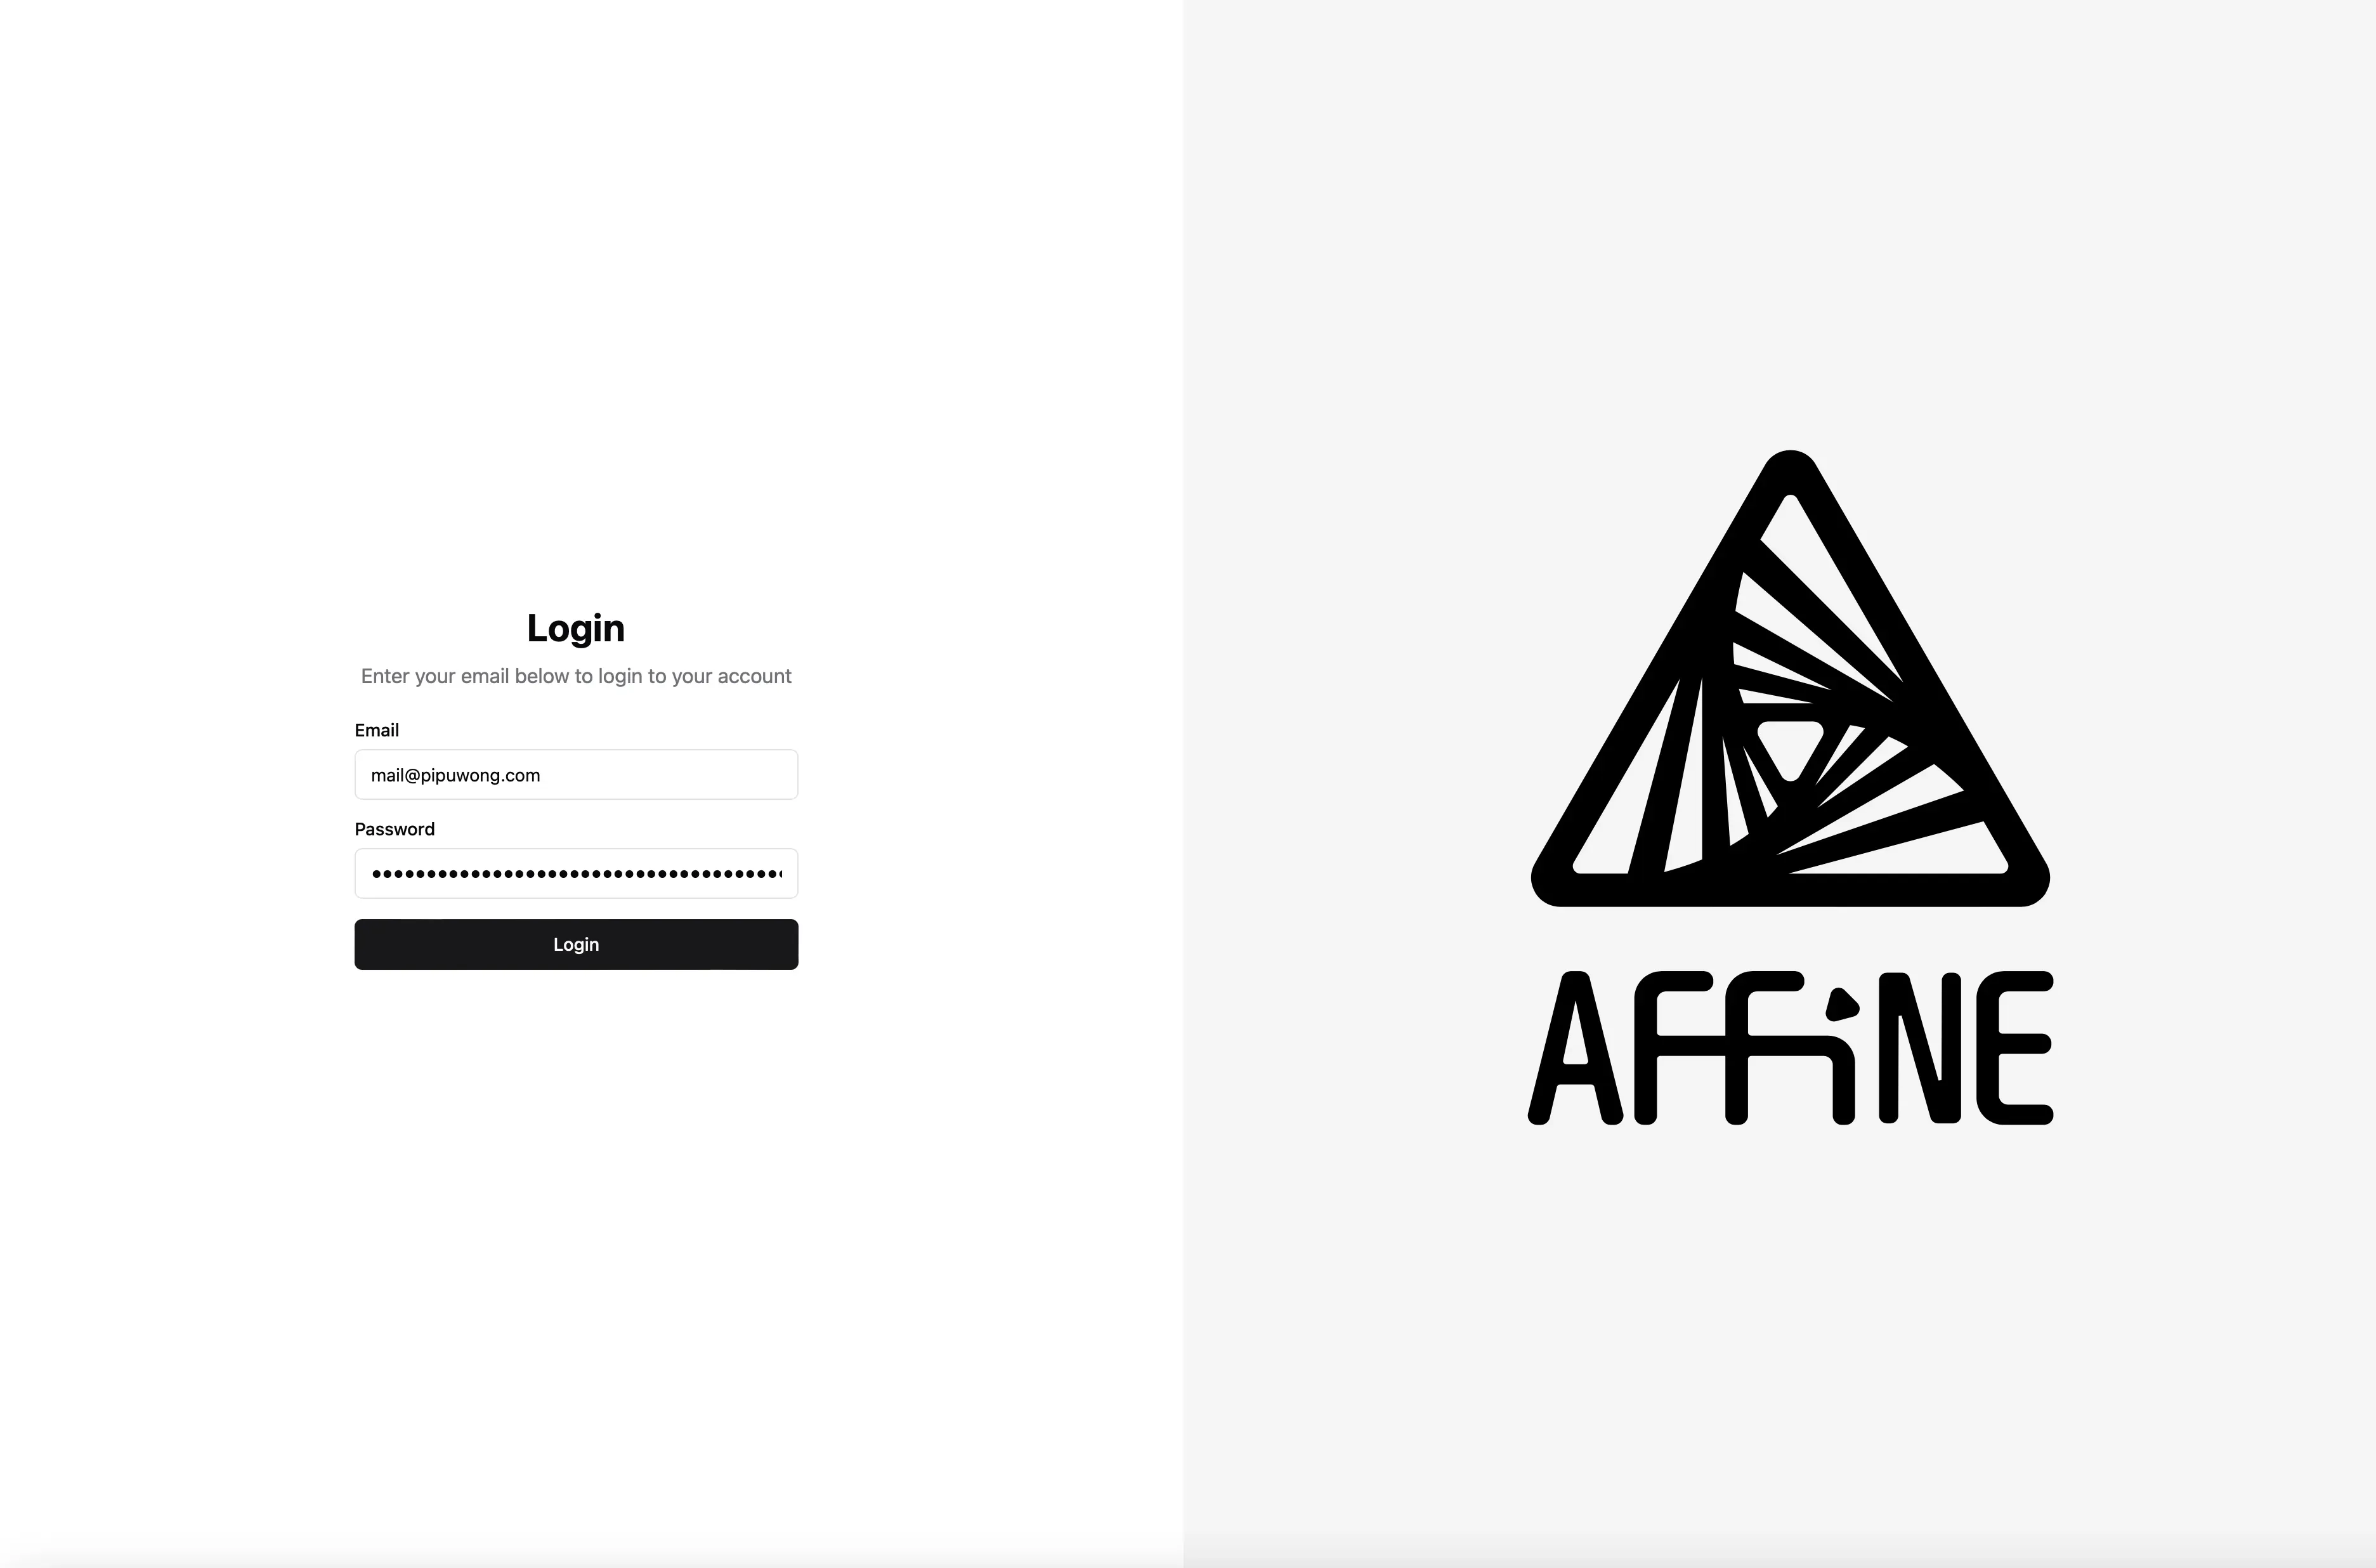
开始访问WebUI
反向代理完成以后,我们就可以通过自己设置的域名访问Affine的网页端了

首次访问,需要创建管理员

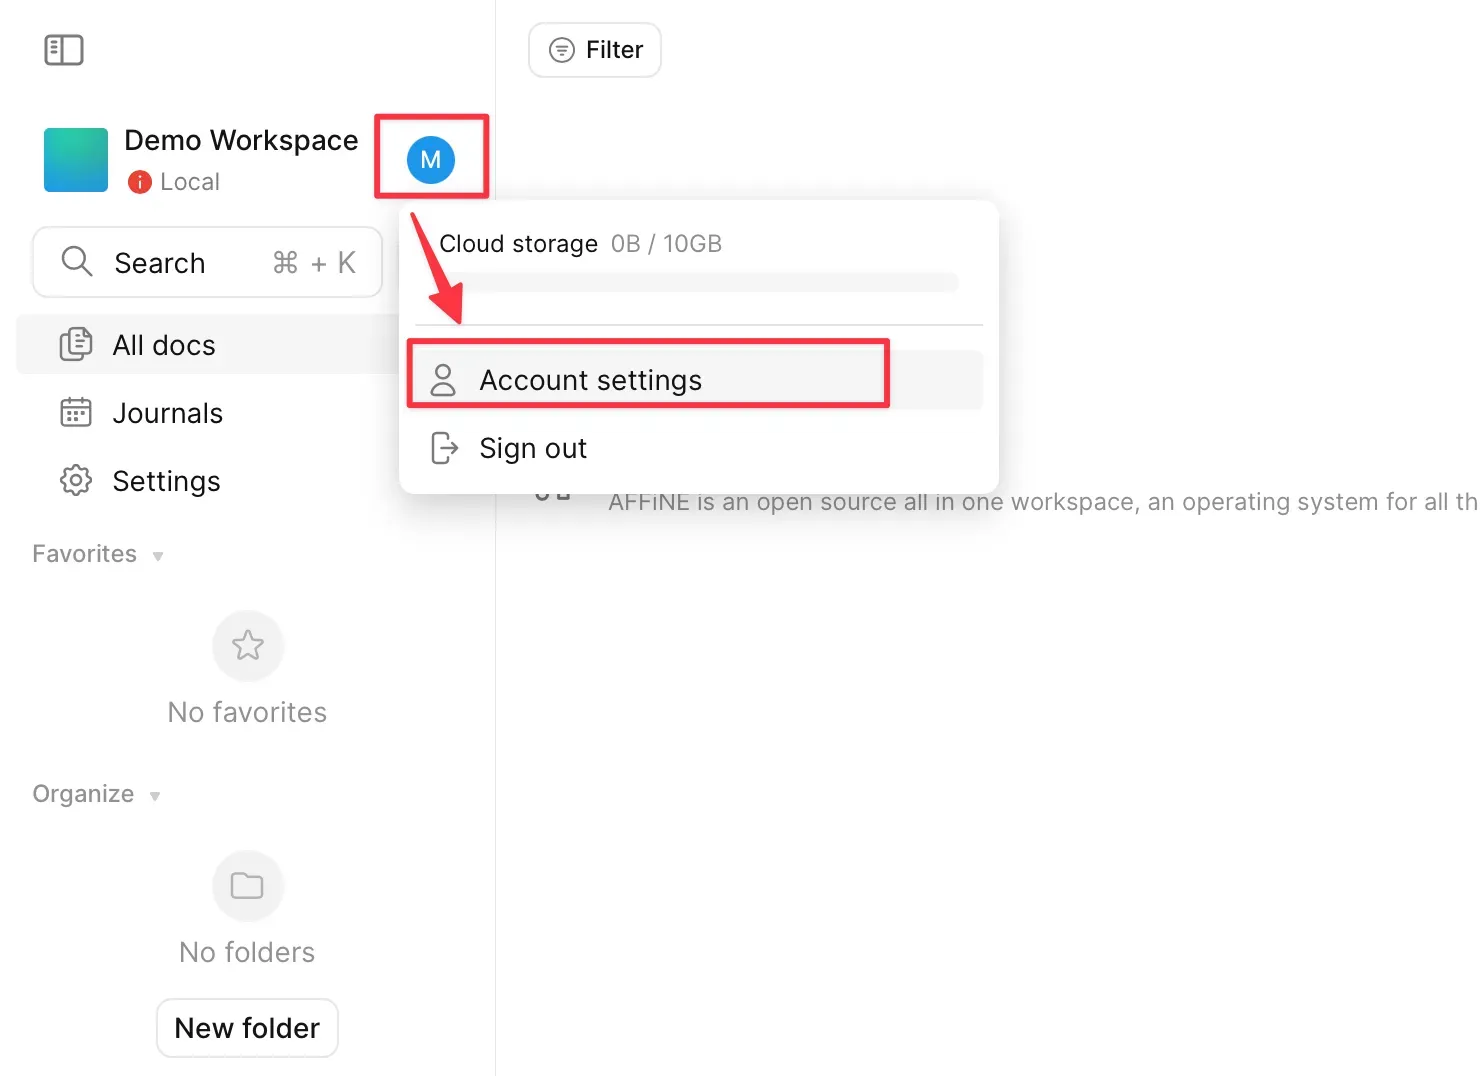
创建完成以后,就可以登录管理员账号
更改界面语言为中文
在客户端连接私有化部署的Affine
这相当于你在使用一个自托管的解决方案来运行Affine。
在官网下载并安装Affine的桌面客户端,连接到你自己管理的版本,从而可以完全控制数据、安全性和其他配置选项,这种方式提供了更高的灵活性和定制性。
在Affine桌面客户端打开“多个云服务器”的开关。
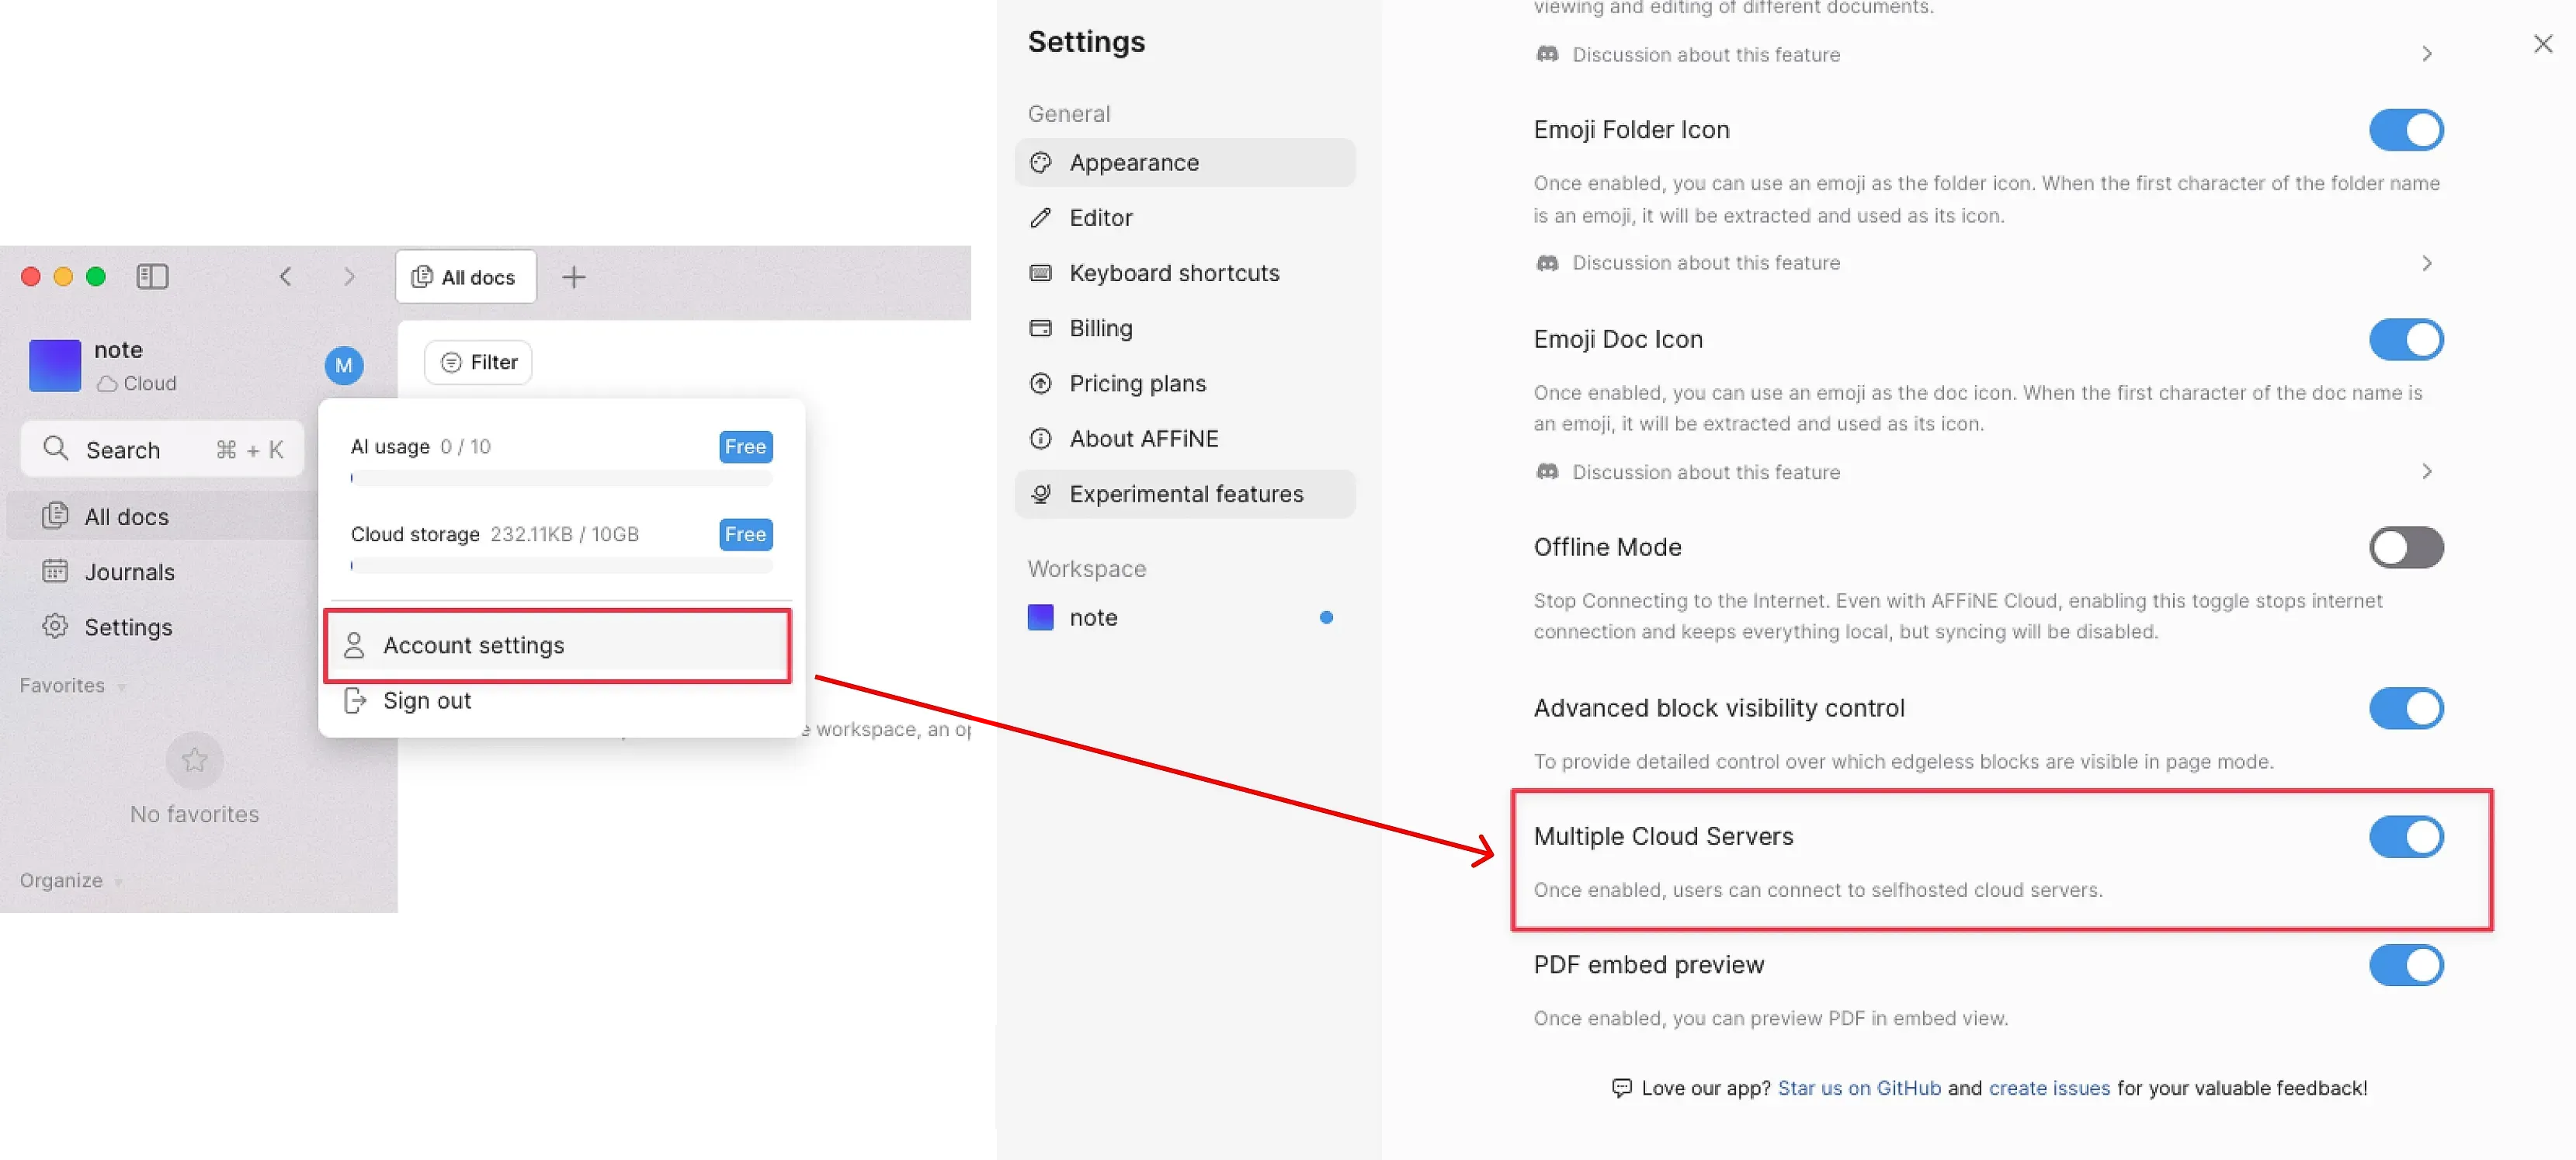
在服务器地址(Seerver URL)输入Affine的域名访问地址:https://affine.example.com(本文假设你的域名是affine.example.com)

完结,撒花🎉